
Hey everyone, I'm here today sharing a new layout using the July kits. My theme for this layout was ‘beautiful blooms’ so I decided to feature Ashley’s gorgeous cut files and fussy cut flowers from Kim’s exclusive papers.
Here is the layout I created: Happily ever After
And here is the process of how it all came together:Here is the layout I created: Happily ever After


I wanted to add some extra detail so I used the exclusive 6×6 stencil to the page with my favourite Faber Castell medium Whipped Spackle. To make sure I only applied one diamond at a time I used my washi tape to mask off just the one. Making it nice and easy. The rubber charms add a nice dimensional embellishment to the cluster at the bottom too.

I just adore how this cut file turned out on this exclusive patterned paper. So bright and fun. I love how it pops off the page. I adhered it with a foam adhesive so it was the same level as the photo.

As a bonus project this month I created a couple of cute embellished paper clips. I recently purchased a 100 pack of 50mm paper clips so I could make my own embellishments. These can be used in planners, project life, cards and traditional scrapbook pages. 
To create clips like these all you need is a hot glue gun, paper clips and small embellishments like die cuts or flair. You just apply hot glue to the top of the clip and back of the embellishment to adhere them together. I then cut a small piece of felt and added it to the back with hot glue to cover up the hot glue and clip area. So much fun! 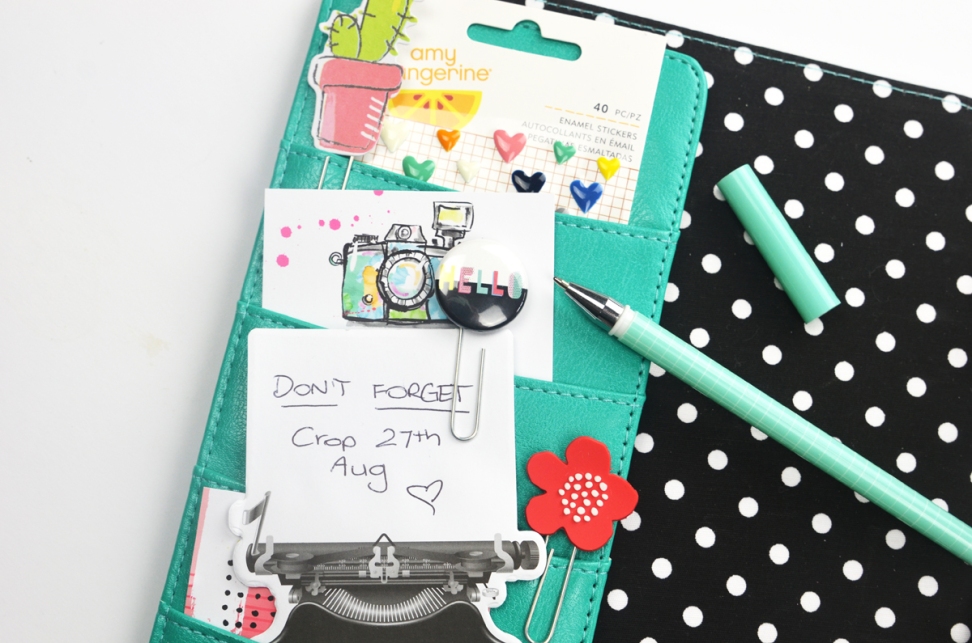
I decided to create a little bonus video for you today on how I created these clips too!
No comments
Post a Comment