Shine Bright with Cocoa Vanilla Studio Cut Files and the MINC machine!


Hey everyone, I'm here today with my latest layout using the new Colour me Happy collection.

Here is the layout I created: Shine Bright
shinebrightlogo
Here are the supplies I used:
shinebrightdesklogo
You can read the tutorial on how I created this layout on the Cocoa Vanilla Studio blog. The tutorial is going to demonstrate to you how you can use the cut files, a laser printer and a minc machine to create your own foiled die cut pieces.

shinebrightmincsideviewlogo
Here are the detailed pictures of my layout:
shinebrightlogo-1

shinebrightlogo-2
shinebrightlogo-3
I hope you have enjoyed this post today, don’t forget to check out the tutorial and process video below to see how I used, printed and foiled the cut files to then create this page.


Raquel x…

Mixed Media Home Decor frame with Pink Paislee


Hey everyone,

Last week I shared a mixed media tutorial on the Pink Paislee blog with details on how to make the frame below.

  Mixed Media: Frame Tutorial @raquelLbowman @pinkpaislee #pinkpaislee #ppfancyfree #diy #offthepage #scrapbooking #mixed media  

Here is what I used:
  Mixed Media: Frame Tutorial @raquelLbowman @pinkpaislee #pinkpaislee #ppfancyfree #diy #offthepage #scrapbooking #mixed media  
And some detailed images of what I did, if you want to find out more details pop on over to the Pink Paislee Blog:

Mixed Media: Frame Tutorial @raquelLbowman @pinkpaislee #pinkpaislee #ppfancyfree #diy #offthepage #scrapbooking #mixed media


   Mixed Media: Frame Tutorial @raquelLbowman @pinkpaislee #pinkpaislee #ppfancyfree #diy #offthepage #scrapbooking #mixed media 

  Mixed Media: Frame Tutorial @raquelLbowman @pinkpaislee #pinkpaislee #ppfancyfree #diy #offthepage #scrapbooking #mixed media  

  Mixed Media: Frame Tutorial @raquelLbowman @pinkpaislee #pinkpaislee #ppfancyfree #diy #offthepage #scrapbooking #mixed media  

  Mixed Media: Frame Tutorial @raquelLbowman @pinkpaislee #pinkpaislee #ppfancyfree #diy #offthepage #scrapbooking #mixed media  

What I love about this idea is that I can change the tag and photo whenever I feel like. I could add a quote, a new photo, a series of photos etc.
  Mixed Media: Frame Tutorial @raquelLbowman @pinkpaislee #pinkpaislee #ppfancyfree #diy #offthepage #scrapbooking #mixed media  

Thanks for visiting
Raquel x

Our little star - using the April Hip Kits


Hey everyone, 

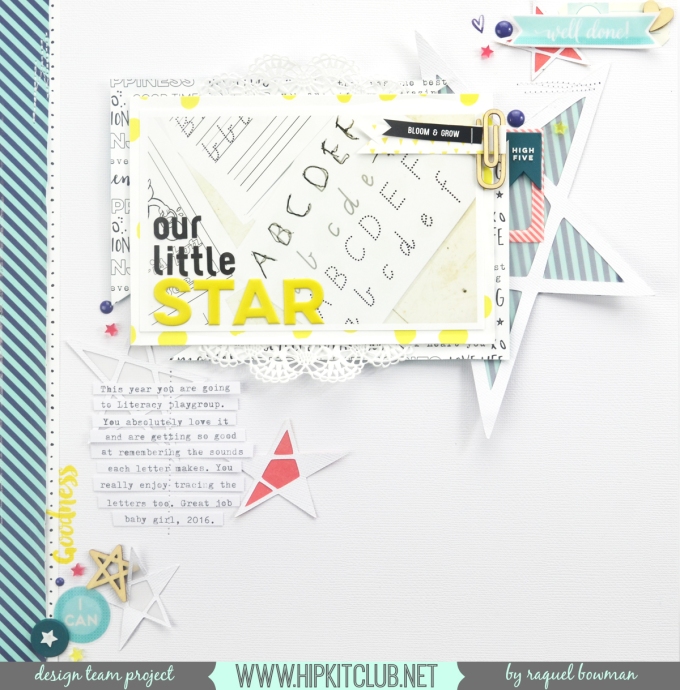
I'm here again today with a new layout and card to share with you all using the April Hip Kits and April cut files.


I really wanted to document my little ones weekly visit to a literacy based playgroup and thought the exclusive April Star cut files would be perfect for this as she is of course a little star! ha. I had taken this picture at the lessons one day in the hope that I would document it, so I am pleased that I have that memory down now for her to reflect on when she is older.

 
ourlittlestar-logo
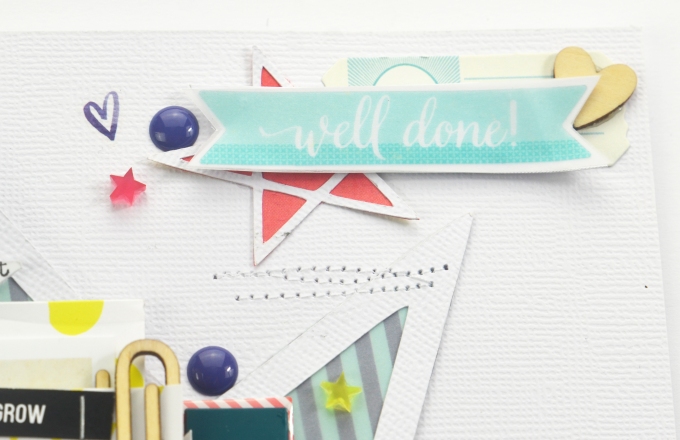
I layered the Shimelle 'well done' Clear Sticker from the Starshine collection onto vellum and then onto white card stock to help it stand out. I also embellished with the sweet Amy Tangerine Better Together rub ons, the My Minds Eye On Trend enamel dots, the Simple Stories Life Documented veneer and the super teeny tiny exclusive acrylic stars. I added further detail to the top cluster by adding some white stitching in a messy way.
ourlittlestar-1
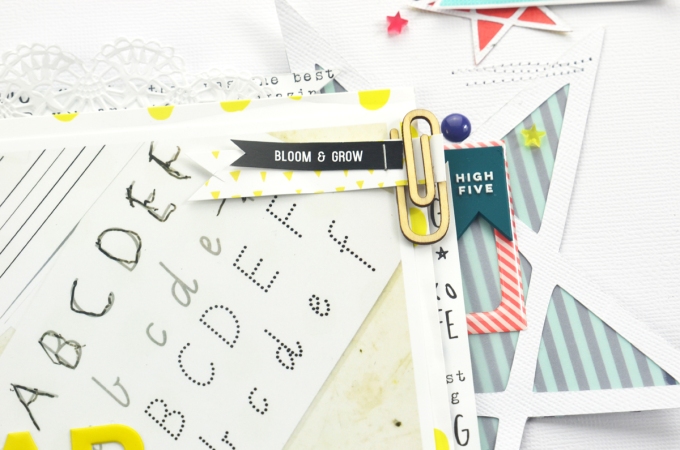
I had been waiting to find a perfect layout to use these Simple Stories Life Documented veneer paperclips. I was able to weave the exclusive cut apart pieces into it to give it further detail. I also added to the right of the photo a Pinkfresh Studio frame and rubber shapes from the Life Noted collection.
ourlittlestar-2
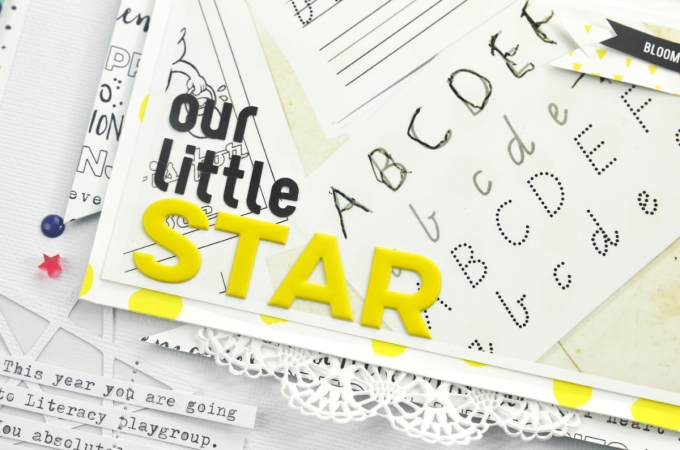
There was a small bit of negative space on the photo in the bottom left corner so I used a combination of the Elle's Studio black alphabet stickers and the bright and fun Pinkfresh Studio yellow alphas to create it.

ourlittlestar-3
I love to tell our stories through our pages so if you are new to Hip Kits you may not know that one of my favourite things to use is my typewriter. You can sometimes find them at local charity or antique stores, this one was picked up for me from an Antique store at a really good price. It is perfect for adding my story in a quick but effective way. I added a line of stitching through the center of the journaling strips to add detail and also to allow me to bend up the ends a little for a touch of dimension.

 
ourlittlestar-4

How beautiful and bright do those Amy Tangerine Better Together 'goodness' rub on look? I have nearly finished the pack which is a bit of a rarity with me and rub ons. The vertical strips to the left of the page are made up of the exclusive Kim Watson paper and a branding strip from one of the Elle's Studio Little Moments collection papers in the Main Kit.

ourlittlestar-5
The cut files themselves were super easy to back and less time consuming than some I do. This is because I backed the whole star in the one patterned paper or vellum. The largest star also has a layer of vellum from the card stock kit to soften the patterned paper underneath. All you need to do to back the files is glue them good sides facing up onto the pattern you desire and simply cut around them with a fine tip scissor. The photo layer is adhered with foam to the page and contains a couple of paper layers. I love the bright pops of colour mixed with the white card stock; so fresh and fun!

ourlittlestar-6
I also decided to create a 4x6" card from my scraps in the collection, an extra star cut file, and other contents from the Main, Embellishment and Project Life kits . For the base of the card I used a piece of the Fountain card stock from the extra card stock kit. Some of the stars are also fussy cut from the exclusive patterned paper by Kim Watson.

 
outofthisworldcard
I hope you have enjoyed this post today. I absolutely cannot wait to get my May kit, it looks amazing!

Capture using the April Hip kits

Hey everyone,

I'm here today with a new layout using the April Kits. For this layout I decided to revisit that beautiful floral cut file from the March kits by Ashley. I just love it and I had only used it once before. That is what I love about cut files; you can adapt them and enlarge them and use them over and over again and your pages will look different.

Here is the layout I created: capture-raquel-logo
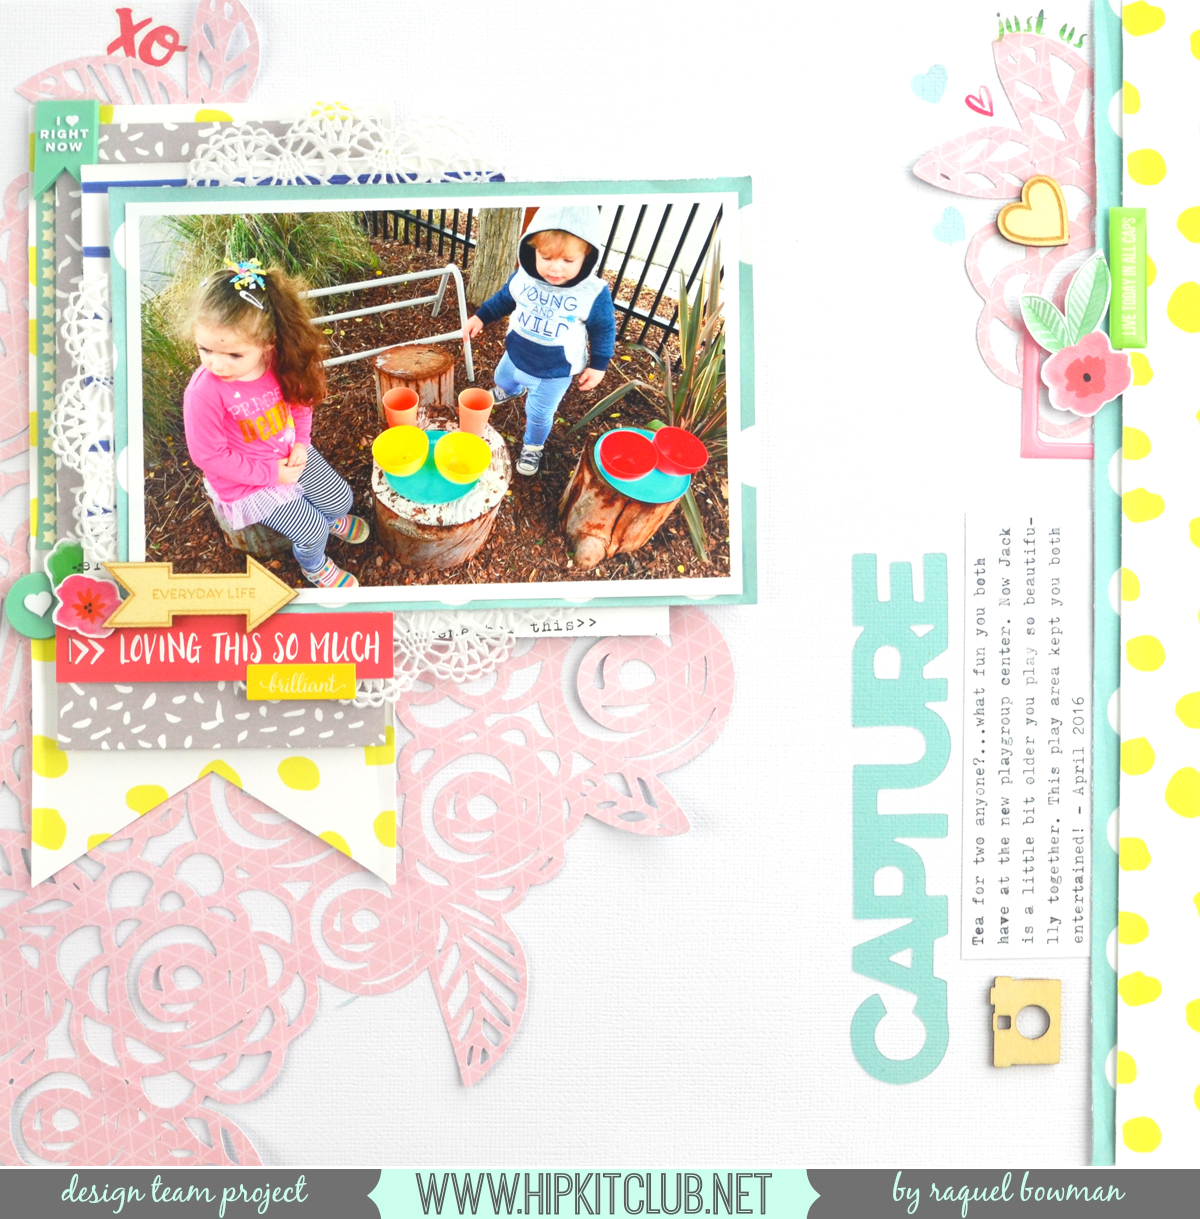
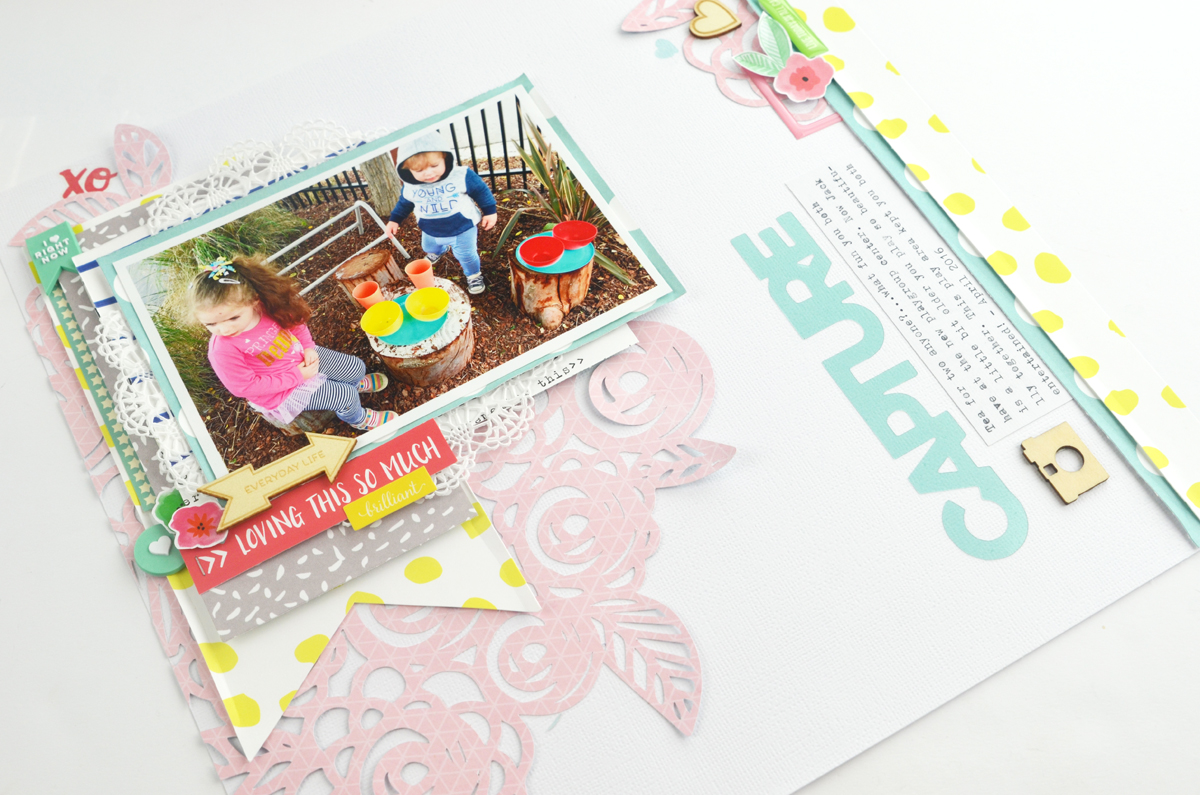
 I took this photo of my kiddies at the playgroup we attend every Tuesday and Wednesday morning. Since Jack has gotten a little bit older he and Charlotte are playing together so beautifully and I wanted to document that on this layout. The playgroup had moved to a new location and this time it came with an outdoor play area with lots of natural materials. They just have a ball. I love the pop of colour this photo brings too and the unposed element of the photo.
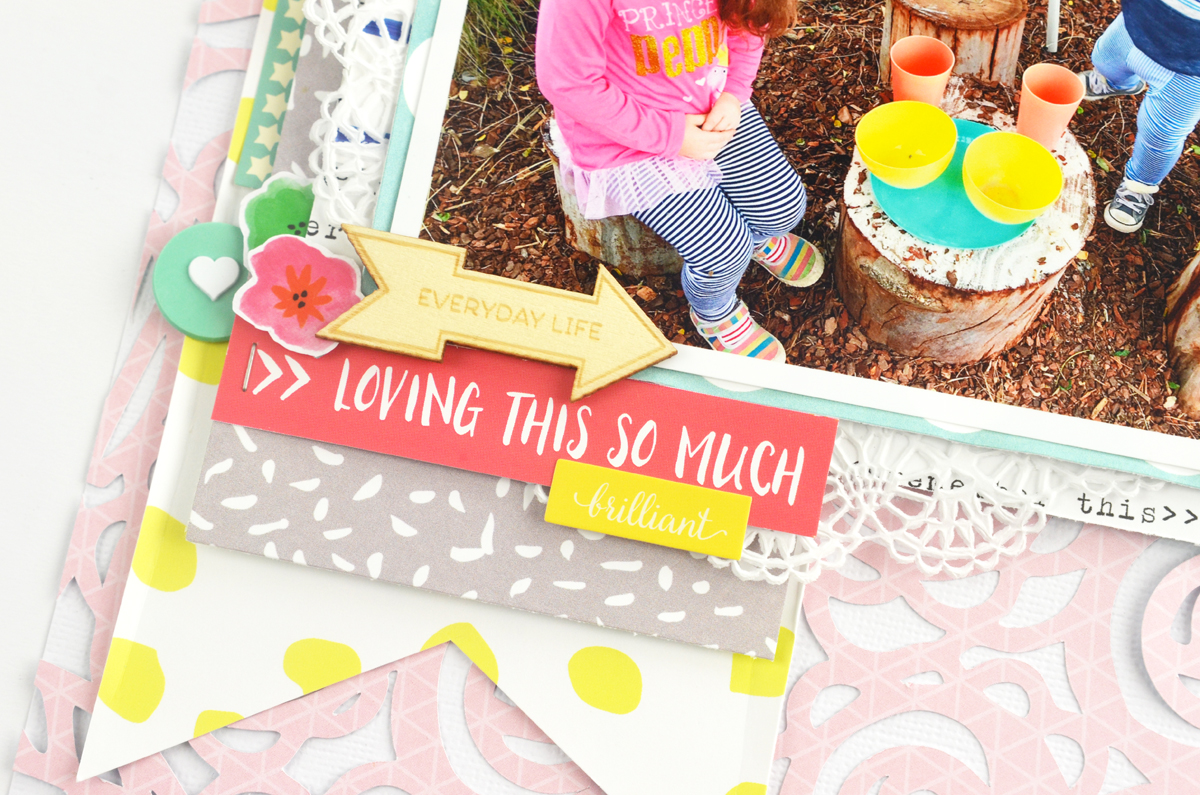
  capture-raquel-1

I created a lot of layers behind my photo using the Hip Kit exclusive papers and the Elles Studio Little Moments papers. The actual die cut flower piece is cut from the Amy Tan Better Together camera piece which had that gorgeous soft pink print on the b-side which I adore, you know me - I have a thing for pink and soft toned colour palettes! The 'loving this so much' tag is cut from the exclusive Hip Kit cut apart sheet.
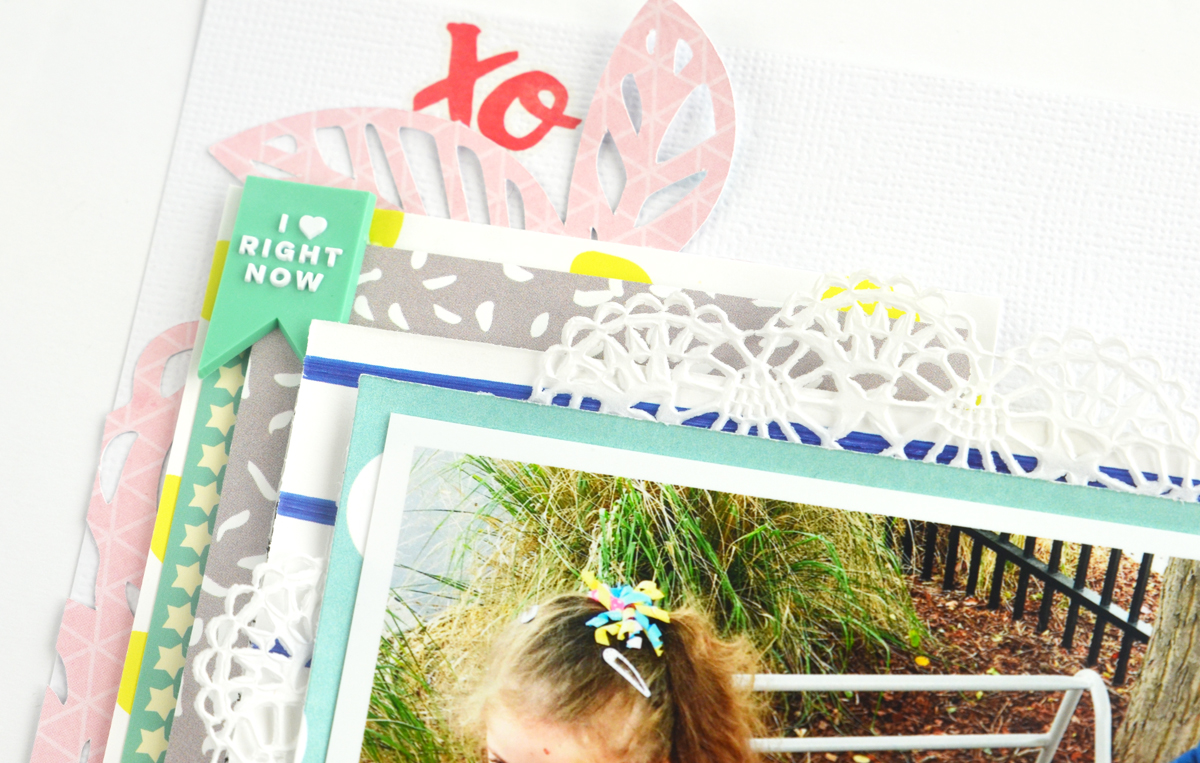
  capture-raquel-2

At the top of the layout to add a little bit more detail I added one of the Pinkfresh Studio Life Noted rubber charms and a xo rub on from the Amy Tangerine Better Together collection. And of course a doily from my stash!
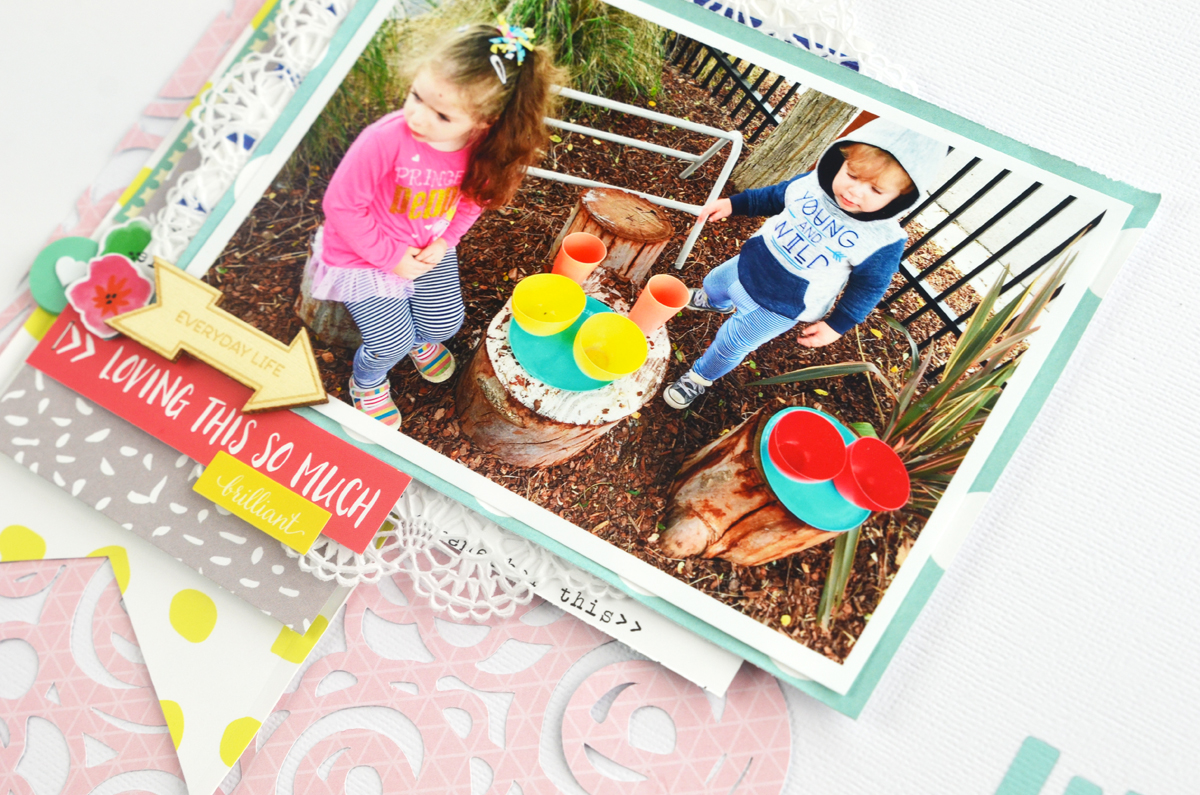
  capture-raquel-3

I added a touch of wood veneer to my layout from the My Mind's Eye packet and also the Simple Stories wood veneer packet. I added one piece of veneer to each of the three clusters or groupings on my page. The actual photo layer is adhered to my page with a foam sheet to add some dimension.
   capture-raquel-4

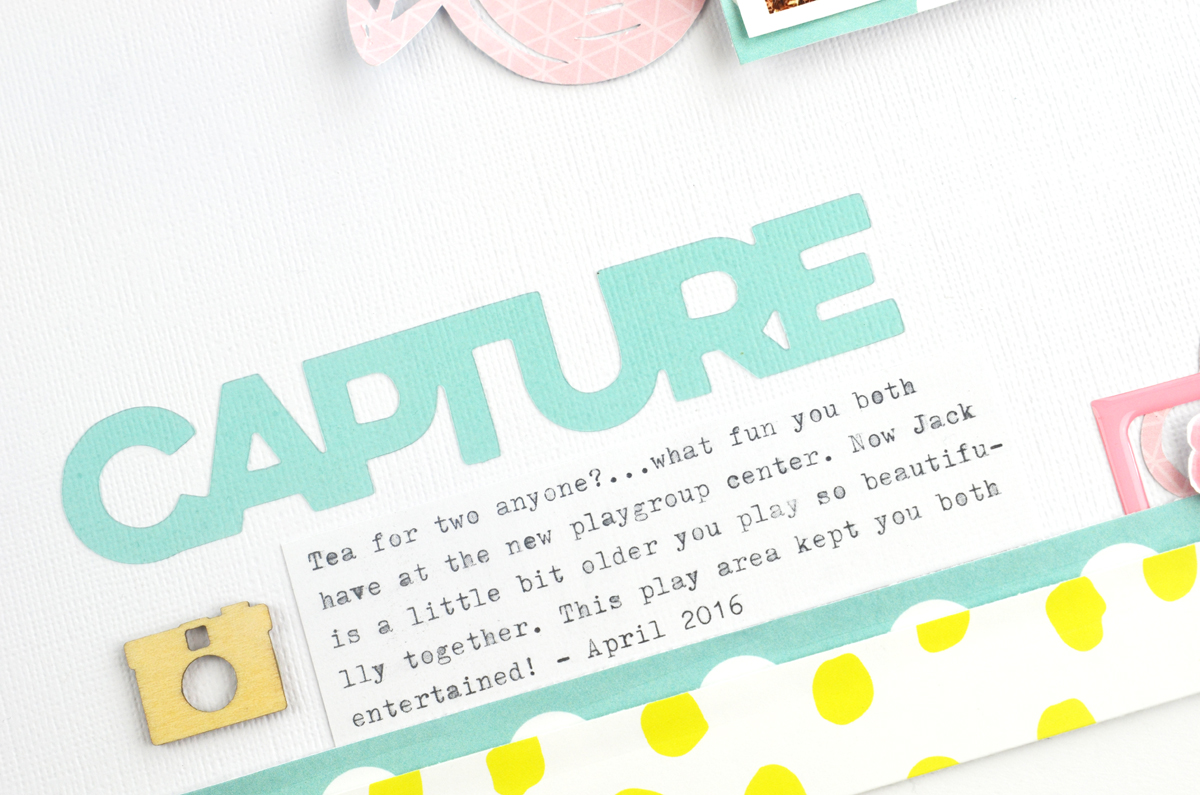
These acetate word packs from Pinkfresh Studio are just amazing! I decided to test out my vellum adhesive spray on it to attach it to my page. The result was fantastic, so I will definitely be doing that again. I could not see any adhesive anywhere, winning! I typed my journaling in a block using my typewriter. To get my journaling to sit the exact part I wanted I drew measurements on my white card stock so I knew I had to type within those boundaries.
  capture-raquel-5

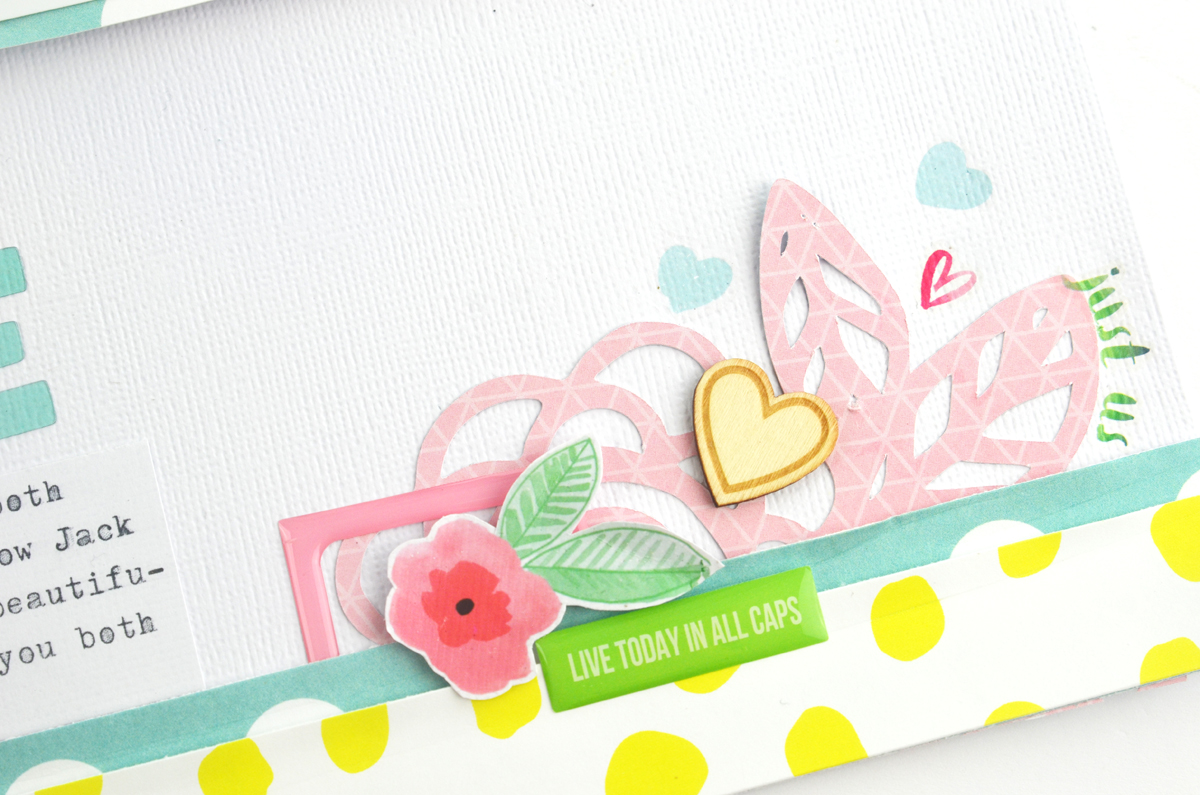
I created a vertical strip to right of the page as I felt the page needed some weight there. I also added some of the remaining cut file that I had cut off the other side of the page and created a cluster with a mixture of Pinkfresh Studio epoxy frames, Amy Tangerine Rub ons and the wood veneer from My Mind's Eye. Like my page last week, I added the rub on to a piece of white card stock first to create a bit of a die cut. I love the crisp white border it gave the flower too.
   capture-raquel-desk
Thanks for visiting today xxx