Your Nook using Love Always by Cocoa Vanilla


Hey everyone, I'm here sharing a new layout featuring the beautiful new collection Love Always. I just couldn’t resist having a play with the Colour me Happy cut files again too!

Here is the layout I created: Your Nook
nook-full
I decided to document this little corner in Charlotte’s room that I had made when she was little. I made large floor style cushions and used a large old hoop and voile curtains to create a netting canopy which was hung in the corner of her room. The idea behind it was that she would one day use it to read in. And she did just that!
desk-nook
I backed the floral cut files with a soft pink and a soft blue paper from the collection. These really helped pop off the page just that little bit more.
nook-2The cluster to the right of the photo was made up of the cut files, some of the vellum and card stock ephemera pieces and even a flair button.I adhered everything with a variety of dimensions, some raised with foam and others straight to the page.
nook-4
I think I need about ten packets of the vellum butterflies alone. They add such a pretty touch to a page, I also was able to add one of the puffy sticker tabs to the top left of the photo. It tucked beneath the photo mat and worked beautifully on the page.
nook-5
As well as the floral cut files available from the online store there are also I heap of floral die cuts which can be found in the ephemera packs. All you need to do is punch out the extra little negative pieces from the shapes.
nook-7

I also added another touch of vellum in terms of the vellum doily behind the photo.
nook-8
For the journaling, it is completed on my typewriter onto plain vellum. I then sprayed the back with a vellum adhesive to adhere it to the page so you cannot see the glue lines. The ombre letter stickers were a nice way to add the title and set the scene for what this journaling was going to be all about.
nook-10
Thanks so much for stopping by the blog today!

Happily every After with Hip Kits

Hey everyone, I'm here today sharing a new layout using the July kits. My theme for this layout was ‘beautiful blooms’ so I decided to feature Ashley’s gorgeous cut files and fussy cut flowers from Kim’s exclusive papers.


Here is the layout I created: Happily ever After happilyeverafter-logo
And here is the process of how it all came together:
For this layout I documented another one of our wedding photos I knew I wanted to use a wedding photo as soon as I saw the phrase ‘happily ever after’. I chose a black and white photo as the paper I used for the cut file is so fun and bright that I may have found it difficult to find a photo to compliment it perfectly. More often than not, if I work with many colours on a page I will use a black and white photo. I just adore the look of a black and white photo if I am honest.
happilyeverafter-desk
I wanted to add a flow of embellishments from the top left to the bottom right of the layout this incorporated a mixture of exclusive die cut ephemera, fussy cut blooms and Amy Tan rubber charms and enamel hearts . I added some of the pieces with foam adhesive and other pieces with regular adhesive.
happilyeverafter-1
I wanted to add some extra detail so I used the exclusive 6×6 stencil to the page with my favourite Faber Castell medium Whipped Spackle. To make sure I only applied one diamond at a time I used my washi tape to mask off just the one. Making it nice and easy. The rubber charms add a nice dimensional embellishment to the cluster at the bottom too. 
happilyeverafter-2
I just adore how this cut file turned out on this exclusive patterned paper. So bright and fun. I love how it pops off the page. I adhered it with a foam adhesive so it was the same level as the photo.
happilyeverafter-3
I framed the photo using the grey and white diagonal stripe chipboard frame by Heidi Swapp. I adhered this to the page using a foam sheet.

happilyeverafter-4
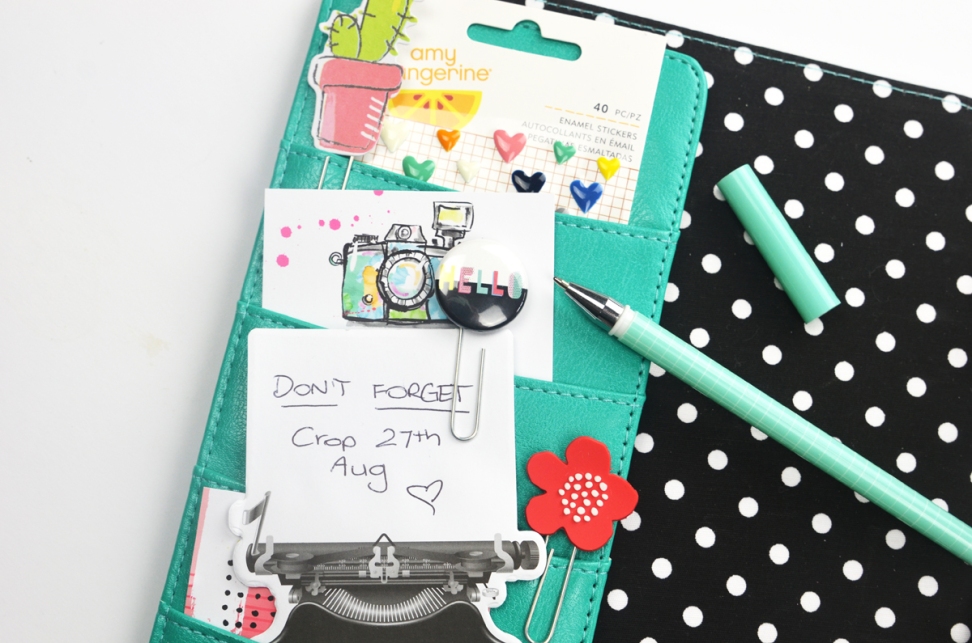
As a bonus project this month I created a couple of cute embellished paper clips. I recently purchased a 100 pack of 50mm paper clips so I could make my own embellishments. These can be used in planners, project life, cards and traditional scrapbook pages. plannerclips
To create clips like these all you need is a hot glue gun, paper clips and small embellishments like die cuts or flair. You just apply hot glue to the top of the clip and back of the embellishment to adhere them together. I then cut a small piece of felt and added it to the back with hot glue to cover up the hot glue and clip area. So much fun! plannerclip-2
I decided to create a little bonus video for you today on how I created these clips too!
Thanks for stopping by!

What a collection! The new Love Always by Cocoa Vanilla - a layout share....

Hey everyone, I'm here today sharing my first layout I have created using the new and absolutely stunning Love Always collection. This layout, I actually taught at a recent retreat in Victoria which was so much fun and a chance to share the Cocoa Vanilla love with others.
raquelbowman-xo

This collection is truly after my heart; the pastel colours with pops of black, white and grey, the softness of embellishments and paper designs, the bundles of embellishments including die cut card stock ephemera and vellum ephemera- I mean what is not to love!?!

For this layout I decided to document this gorgeous photo of my kiddies hugging that was taken at Easter time. I was trying to get them to look at the camera, which is an impossible task these days might I add – and managed to snap this gorgeous picture of them hugging in the process.

I used white card stock as my base, which doesn’t come as a surprise, and applied a layer of whipped spackle through a text stencil in a diagonal direction. This adds a lovely subtle texture to my page. If you are interested in learning more about adding Subtle Texture to your pages in my style of scrapbooking I have a Big Picture Class you can take here by accessing a free trial of the classes if you are not already a member.

raquelbowman-xo-6
I layered my photo behind multiple layers of the patterned papers in the collection. I also added a doiley from my stash. The main layer is a 7″ circle which I matted with vellum and added to the page with foam adhesive. I then added my layered photo mat with another layer of foam adhesive. When I have large areas like this that I want to add dimension to I use a material such as a craft foam sheet. This is cost effective and gives a nice flat and even layer of dimension.
raquelbowman-xo-7
The title is made up of an ‘xo’ cut file available in the Cocoa Vanilla Store for immediate download. I backed these with a patterned paper in the collection and also added a layer of vellum behind them to help distinguish them from the white background. I also added them to the page with a double layer of foam adhesive so they were the same depth as the photo. You can really see the dimension in the image below.
raquelbowman-xo-3

The florals are a cut file based on the florals in the collection. I just adore them and they may be arriving in the CVS store soon *hint hint*. I backed the leaves section and floral section with the papers from the collection also.

raquelbowman-xo-4
Embellishing the page was done with a combination of the accessory sticker sheet and die cut ephemera. I honestly just can’t get enough ephemera!
raquelbowman-xo-2
I added some journalling, just basically my thoughts when I look at the photo. I did this by typing it onto my typewriter and adhering it in strip form under the title.
raquelbowman-xo-1

I had an absolute ball teaching this class to a number of the retreat attendees. I think they all loved the CVS goodies as much as I do!

I couldn’t finish the post without a pic that we managed to snap, myself with the lovely creator of these amazing products Zoe! Thank you for allowing me to share my love of your products with everyone!
IMG_8288
Raquel xx

Take me Away with Pink Paislee's Paige Kits

Hey everyone,

I'm here today to share with you a fun tutorial you can follow along with at home to recreate the page below using the Paige Kit from the Take me Away collection!

Take Me Away: Paige Kit Tutorial @raquelLbowman @pinkpaislee #pinkpaislee #pptakemeaway #layout #12x12 #homedecor
Here is how it all came together:


All you need is the Paige Kit, some wallet sized photos, adhesive, and scissors (I used a sewing machine too!).
Take Me Away: Paige Kit Tutorial @raquelLbowman @pinkpaislee #pinkpaislee #pptakemeaway #layout #12x12 #homedecor
The kits themselves come with the die cut background, a patterned paper, die cut ephemera, patterned acetate, and even foam dots!
Take Me Away: Paige Kit Tutorial @raquelLbowman @pinkpaislee #pinkpaislee #pptakemeaway #layout #12x12 #homedecor
I would love a few sheets of the die cut ephemera on their own, how beautiful are they!?!
Take Me Away: Paige Kit Tutorial @raquelLbowman @pinkpaislee #pinkpaislee #pptakemeaway #layout #12x12 #homedecor
Although the sample of the Paige Kit doesn’t have photos, I decided to add photos behind a couple of the letters. The photos were printed in ‘wallet’ size and fit behind the letters perfectly.

Take Me Away: Paige Kit Tutorial @raquelLbowman @pinkpaislee #pinkpaislee #pptakemeaway #layout #12x12 #homedecor
The whole die cut piece was adhered to the page with the foam dimensional adhesive tape. I love the shadow it gives background!

Take Me Away: Paige Kit Tutorial @raquelLbowman @pinkpaislee #pinkpaislee #pptakemeaway #layout #12x12 #homedecor
When adding the ephemera I used a mixture of foam dots and regular adhesive runner. This gave the embellishments depth and definition.
Take Me Away: Paige Kit Tutorial @raquelLbowman @pinkpaislee #pinkpaislee #pptakemeaway #layout #12x12 #homedecor
I used two types of foam dots, which vary in depth, as you can see from the floral die cuts below. Take Me Away: Paige Kit Tutorial @raquelLbowman @pinkpaislee #pinkpaislee #pptakemeaway #layout #12x12 #homedecor
I hope that this post has given you an insight into how awesome the Paige Kits are and how fun and easy they are to use and customise for your albums or wall decor!

Take Me Away: Paige Kit Tutorial @raquelLbowman @pinkpaislee #pinkpaislee #pptakemeaway #layout #12x12 #homedecor
Raquel xxx