
I'm here today with a new layout to share for Circles week on the Pink Paislee Blog. For my layout I decided to use a cut file available here at Just Nick as a base for my layout design.
I am a big fan of a diagonal design and loved that this cut file led itself to one. The layout features the Fancy Free designer collection by Paige Evans. As always I love the bright colours that this collection brings to a page, and against a white background, boy they sure do pop!
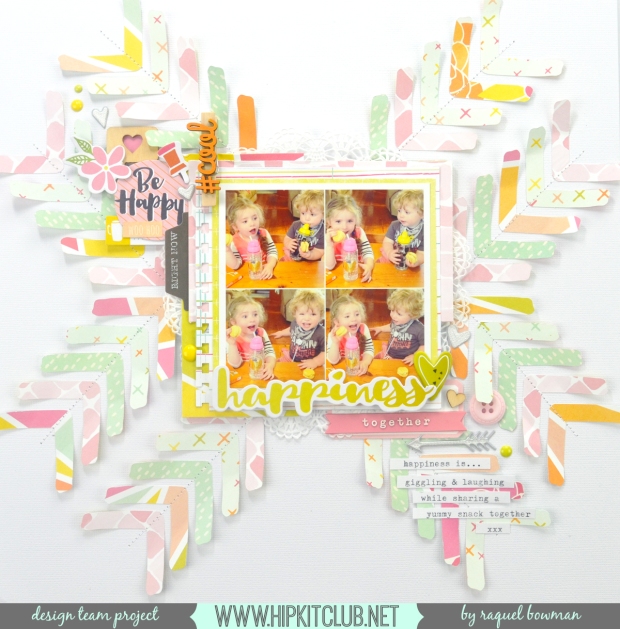
Here is the layout I created:

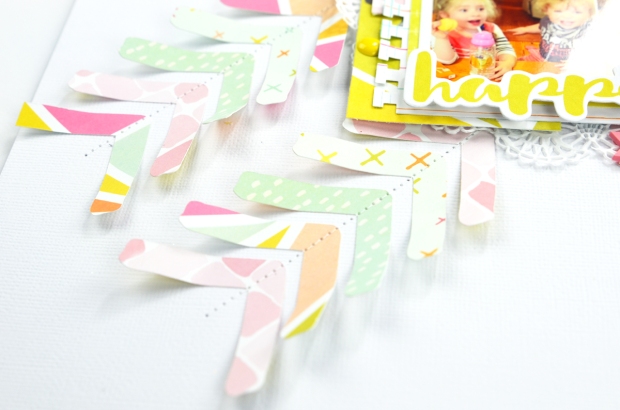
I added a subtle texture to the background with a music notes stencil from my stash and a white texture paste. I applied that to the page diagonally just to add a bit of detail to the areas behind the cut file.

I used the button pack to match with the circular layout design. They added a nice pop of colour to the page. The 'happy dance' text is cut from a circle in one of the patterned papers within the collection. I used that circle and a couple of the others from the paper to back to smaller circles within the cut file.

For the circles that contained photos I have backed them with doilies from my stash. I was able to use both 5" and 4" doilies behind them. I love the softness that this adds.

I also embellished the page with die cut ephemera and the cute swiss cross' from the silver glitter thickers pack.

The dream acetate script can also be found in the ephemera pack.

The acetate pieces pop beautifully off the white background, even with the added texture of the paste.

The title of the page is live out loud. It just summarised these photos of my little girl beautifully. I used the 4x6" card from the cut apart patterned paper for backing that section of the cut file. I was wrapt when it fit perfectly!

I applied the whole cut file to the page with a foam adhesive. I do this as the cut file is white and applying it to a white background can sometimes mean it fades in a little and doesn't stand out. The foam adhesive adds a shadow to the page and helps the cut file pop from the white background.

Thanks for stopping by my blog today x
Raquel xx


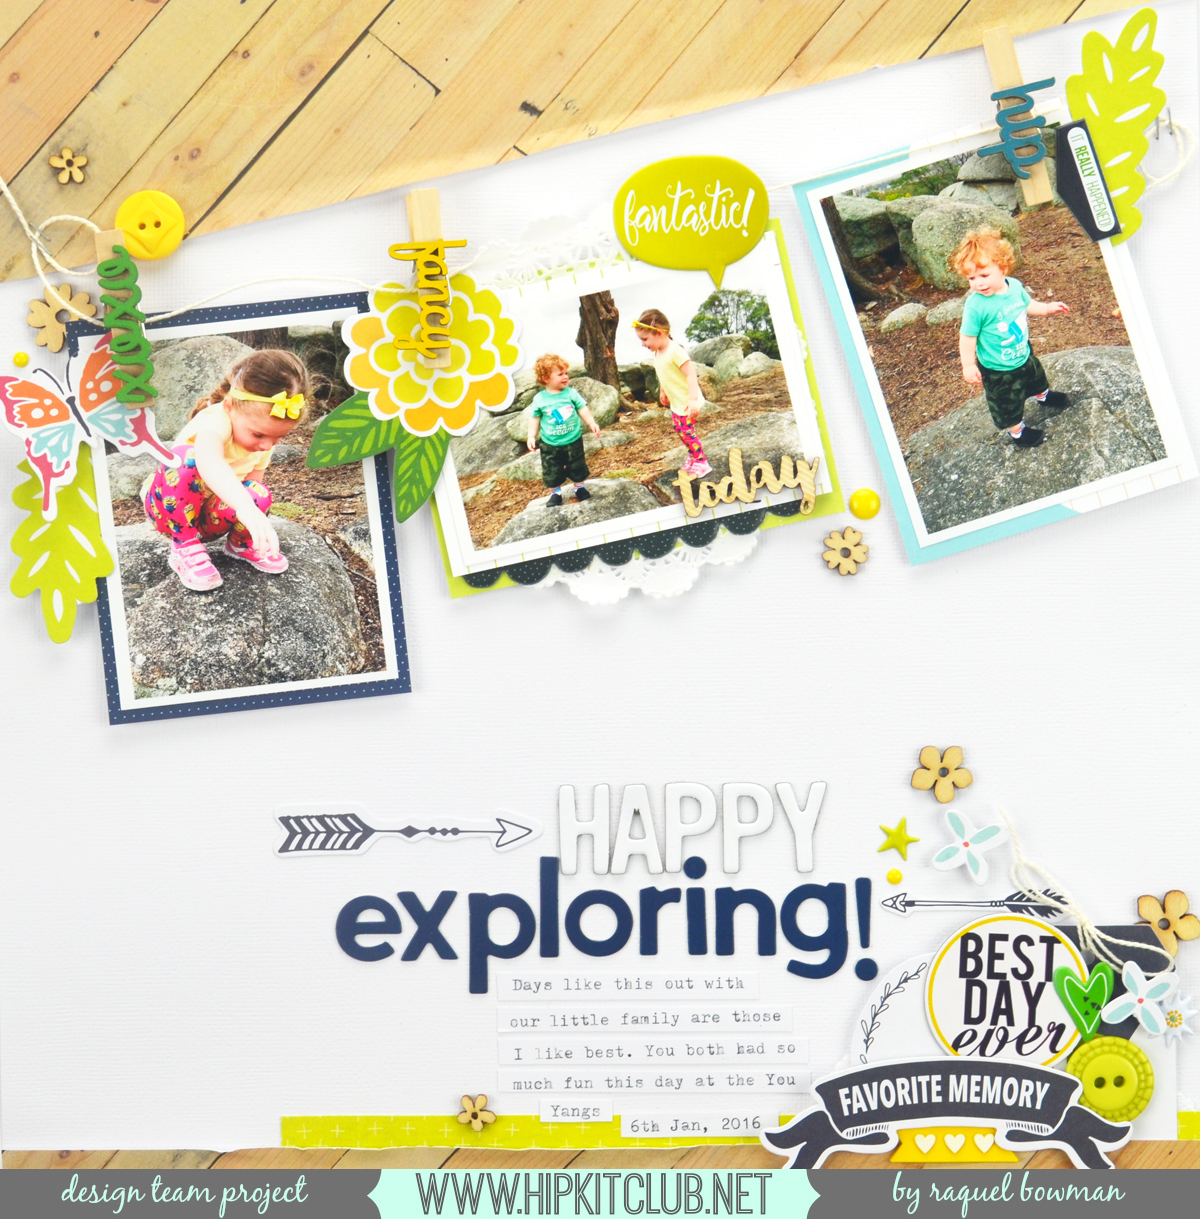 The Jillibean Soup pegs were perfect to replicate that pegged photo look. I tried to choose ones that had coloured veneer than complimented my colour palette. I added some string from my stash along the tops of the photos also and secured it with staples.
 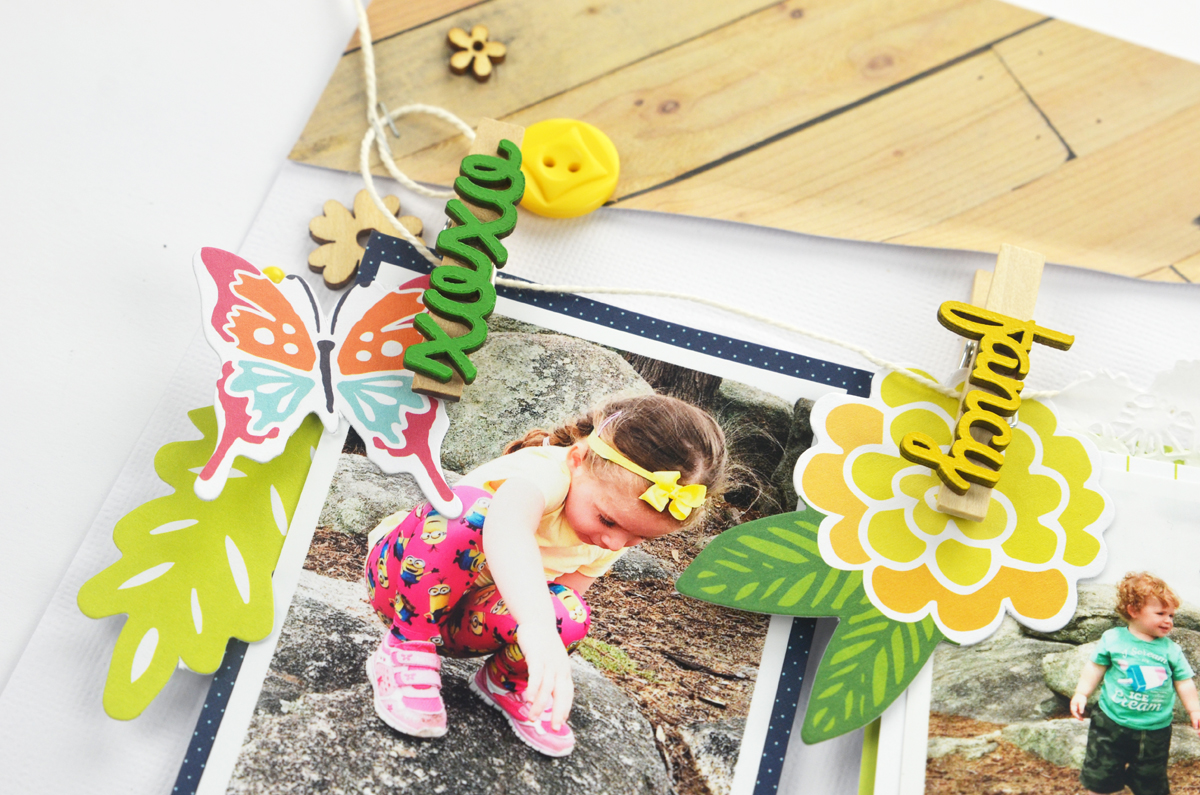 Each photo was mounted onto a 3x4" card from the project life kit in coordinating colours. The landscape photo of my kiddies in the middle was double matted and embellished more than the photos on either side to make it more of a focal point. The embellishments are a combination of the exclusive die cuts, puffy stickers, and Jillibean Soup wood veneer.
  That 'hip' peg by Jillibean Soup was perfect for my little man. I love adding the puffy sticker tabs to the tops or side of photos too.
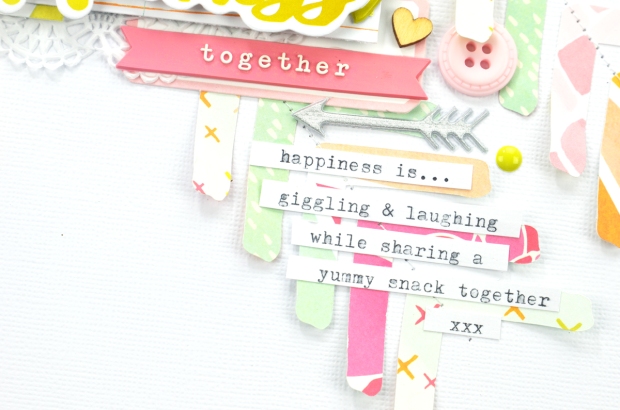
  The journaling is typewritten on my trusty typewriter. I just never tire of the look of the strip journaling. It is so easy and quick to add my stories to my layouts.
 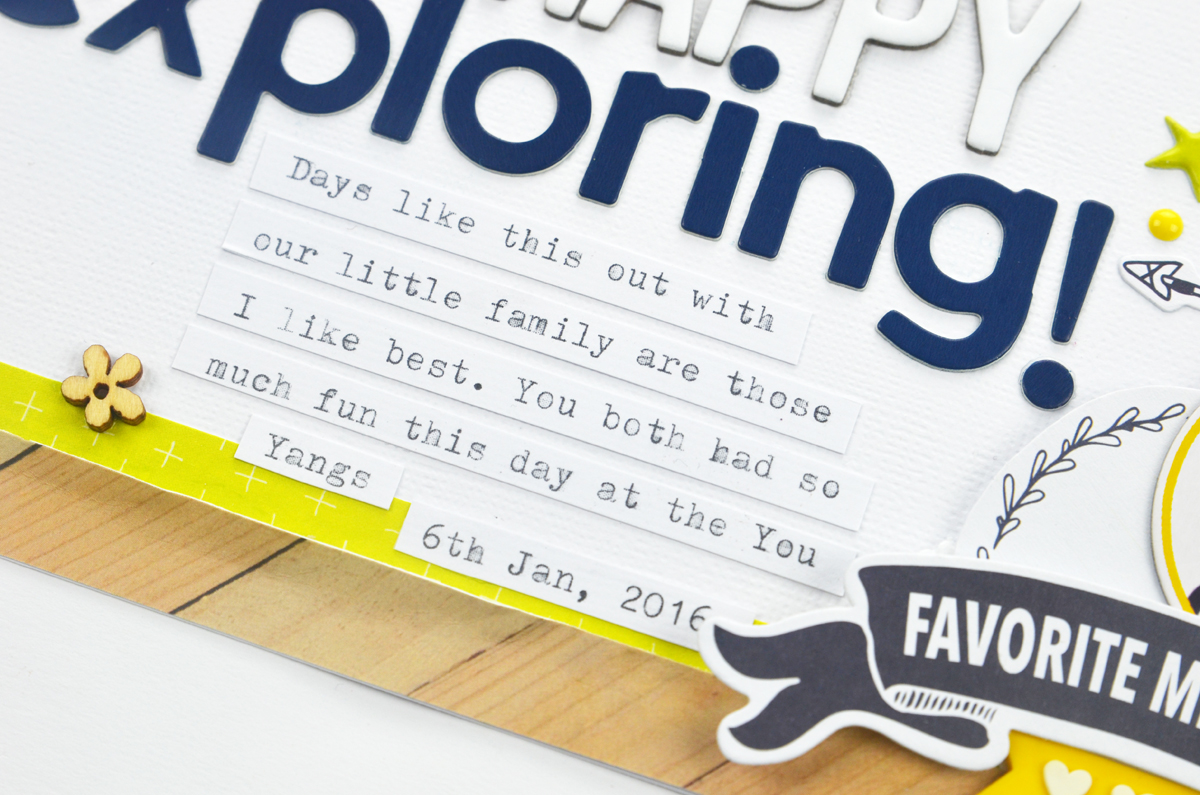 Each photo was backed with foam adhesive as the peg creates a lot of dimension and needs to foam to make it a flat surface.
 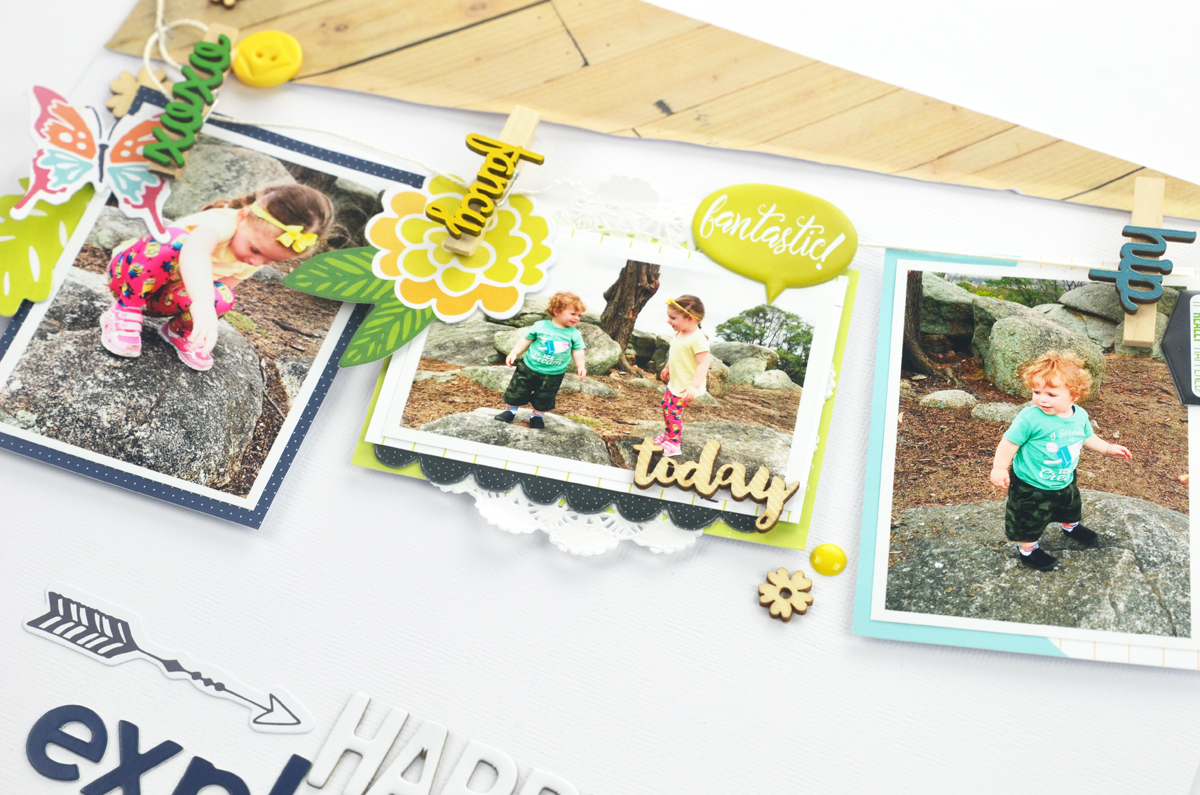 The title was made from a combination of products. The Happy was from the Bella Boulevard chipboard from the June kit and the Jillibean Soup Navy alphas from the July kits. I created a multi dimensional cluster to the bottom right of the page. I added the Heidi Swapp chipboard, Jillibean Soup veneer, the exclusive die its and puffy stickers, Pink Paislee buttons, and more.
 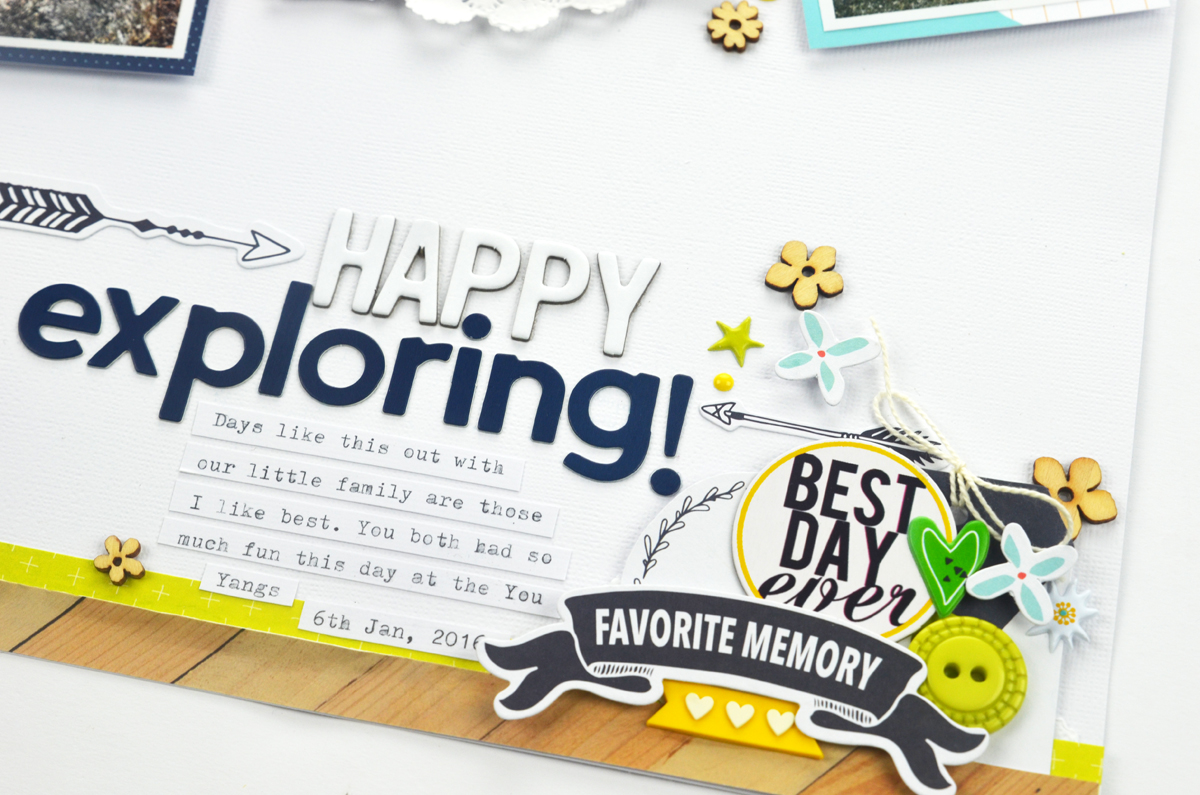 The kids had such a fun day this day so I am so pleased that this kit was perfect for documenting it.
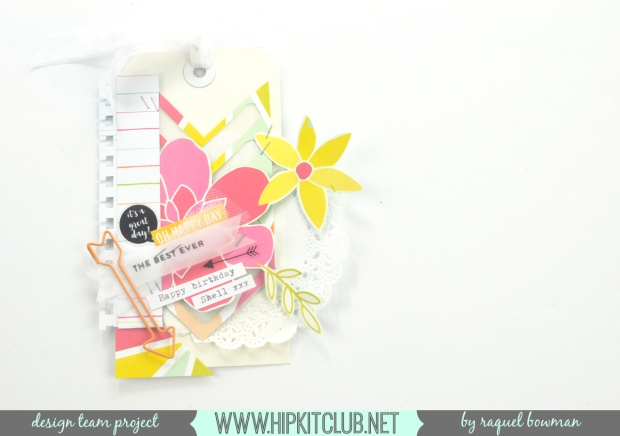
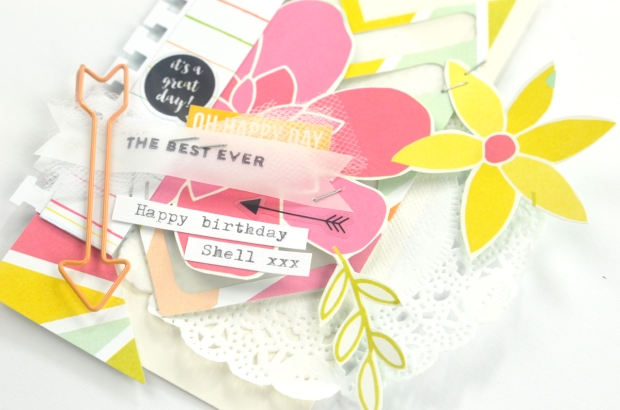
 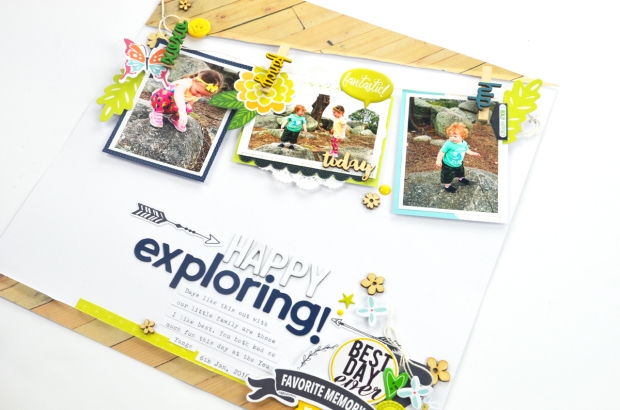 Of course while I had this beautiful kit out on my table I had to have more of a play and create a tag just for fun. This will go in my 'card' stash and be a quick and nice little addition to a gift for someone.
I created the tag itself from some white yardstick and applied a reinforcement sticker to the top after I punched the hole. This makes the tag look like a brought one instead of one I have just made. The main element of the tag is a camera with speech bubble which was cut out from one of the 3x4" cards in the Project Life kit.
Of course while I had this beautiful kit out on my table I had to have more of a play and create a tag just for fun. This will go in my 'card' stash and be a quick and nice little addition to a gift for someone.
I created the tag itself from some white yardstick and applied a reinforcement sticker to the top after I punched the hole. This makes the tag look like a brought one instead of one I have just made. The main element of the tag is a camera with speech bubble which was cut out from one of the 3x4" cards in the Project Life kit. 
 Thanks for stopping by my blog today everyone.
 Hip Kit Club Member Price: $29.95 (requires a 3 month minimum subscription)
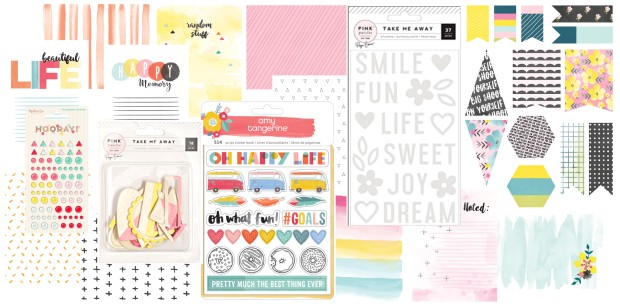 Hip Kit Club Member Price: $29.95 (requires a 3 month minimum subscription)
 Price: $27.95*
 Price: $12.95*
 Price: $11.95*


