
And my layout: Happy Exploring
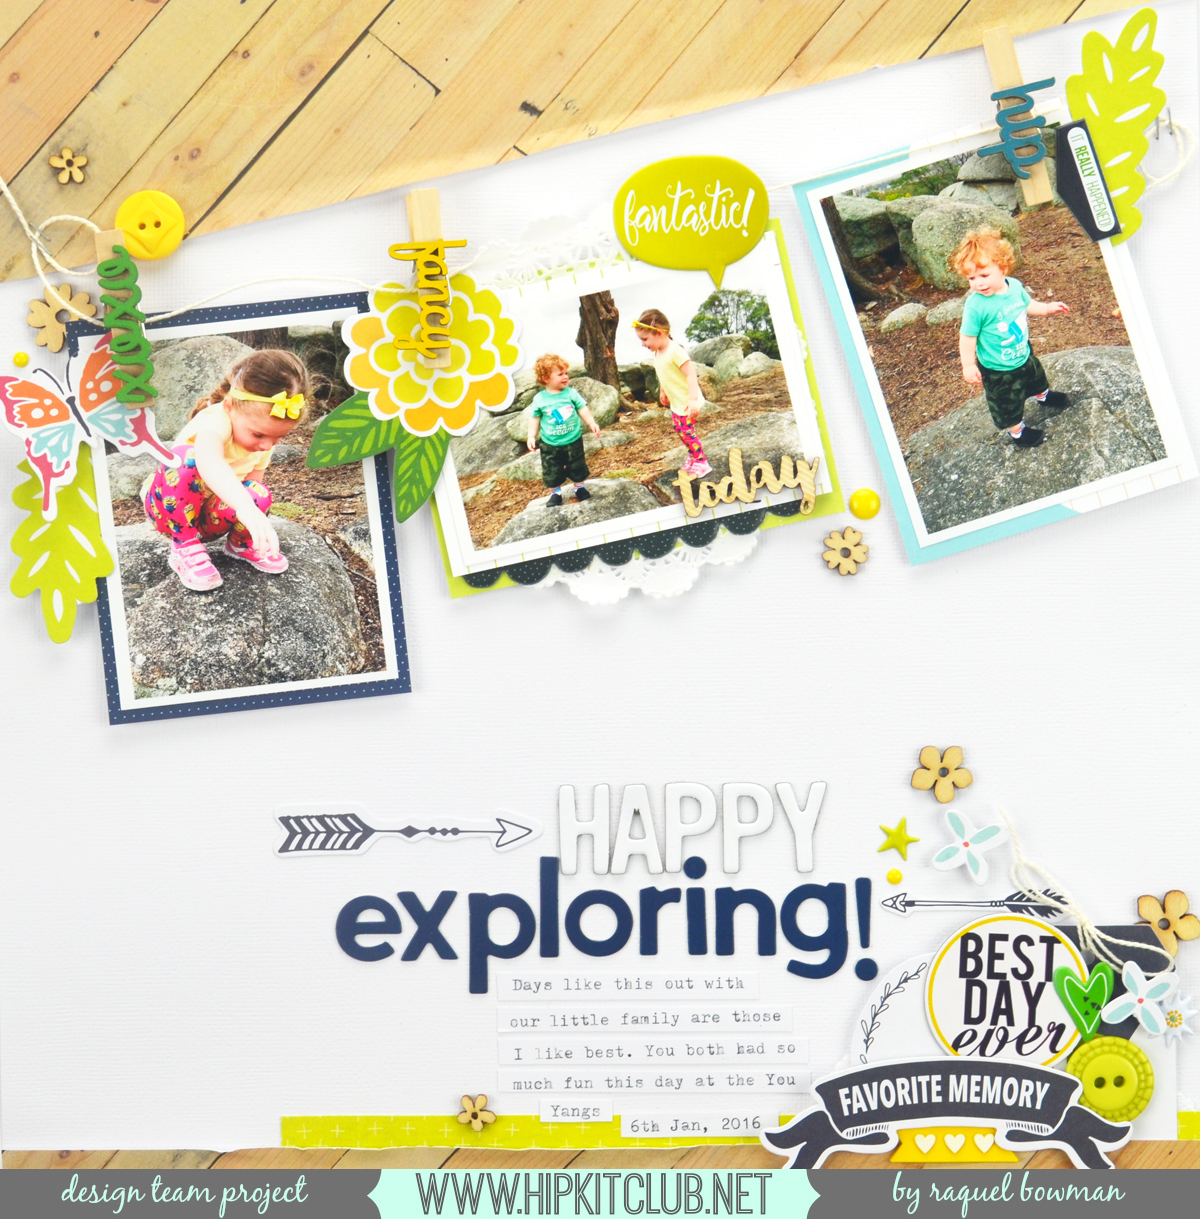 The Jillibean Soup pegs were perfect to replicate that pegged photo look. I tried to choose ones that had coloured veneer than complimented my colour palette. I added some string from my stash along the tops of the photos also and secured it with staples.
 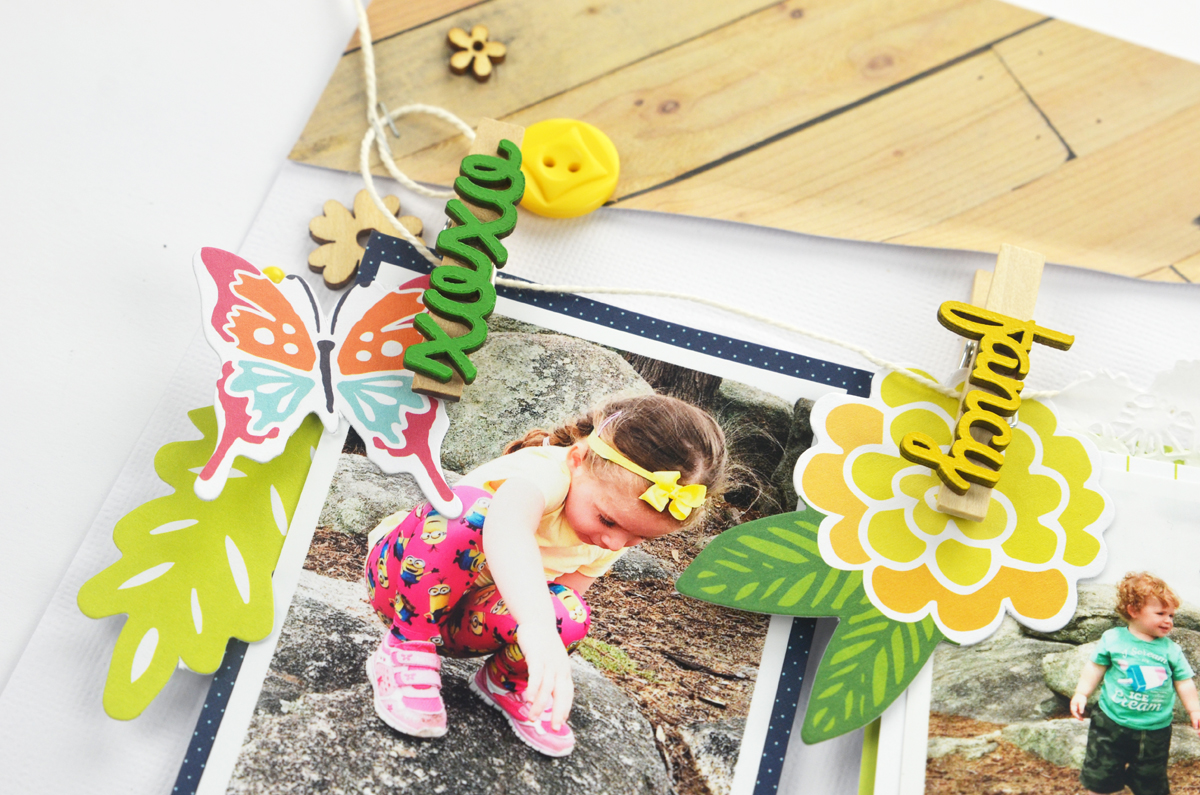 Each photo was mounted onto a 3x4" card from the project life kit in coordinating colours. The landscape photo of my kiddies in the middle was double matted and embellished more than the photos on either side to make it more of a focal point. The embellishments are a combination of the exclusive die cuts, puffy stickers, and Jillibean Soup wood veneer.
  That 'hip' peg by Jillibean Soup was perfect for my little man. I love adding the puffy sticker tabs to the tops or side of photos too.
  The journaling is typewritten on my trusty typewriter. I just never tire of the look of the strip journaling. It is so easy and quick to add my stories to my layouts.
 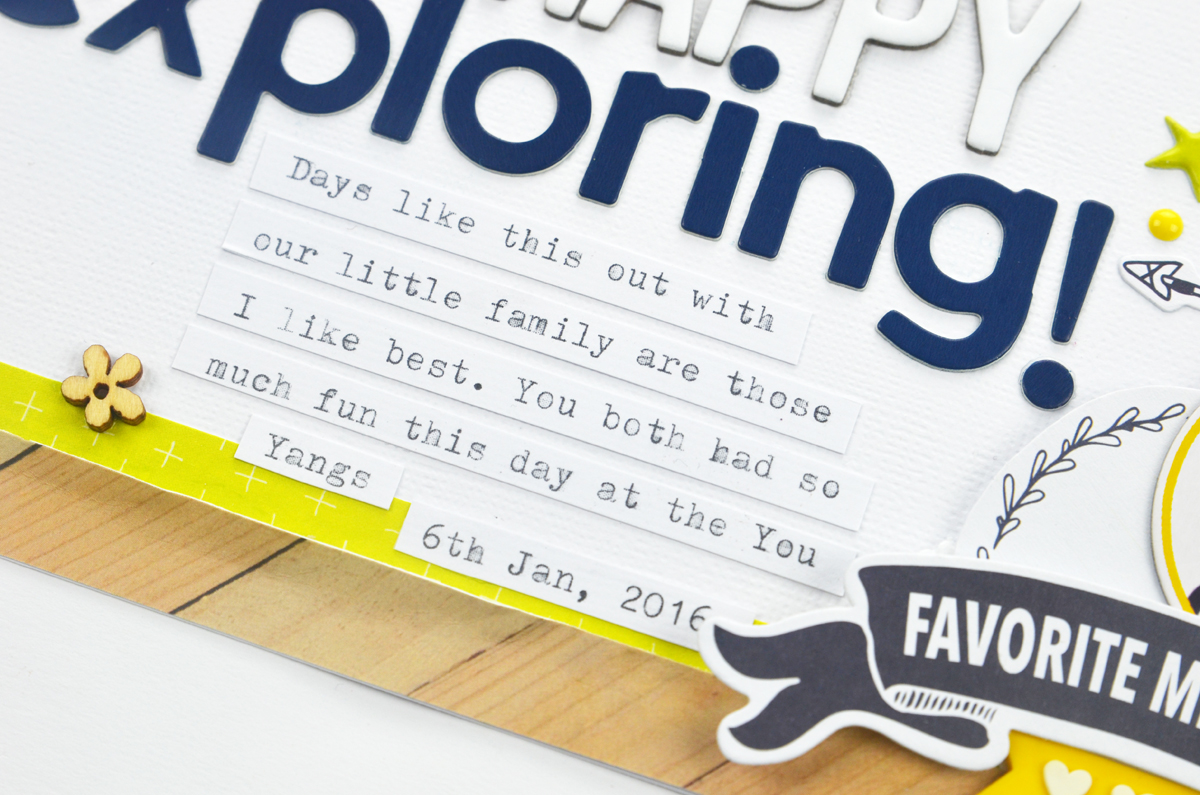 Each photo was backed with foam adhesive as the peg creates a lot of dimension and needs to foam to make it a flat surface.
 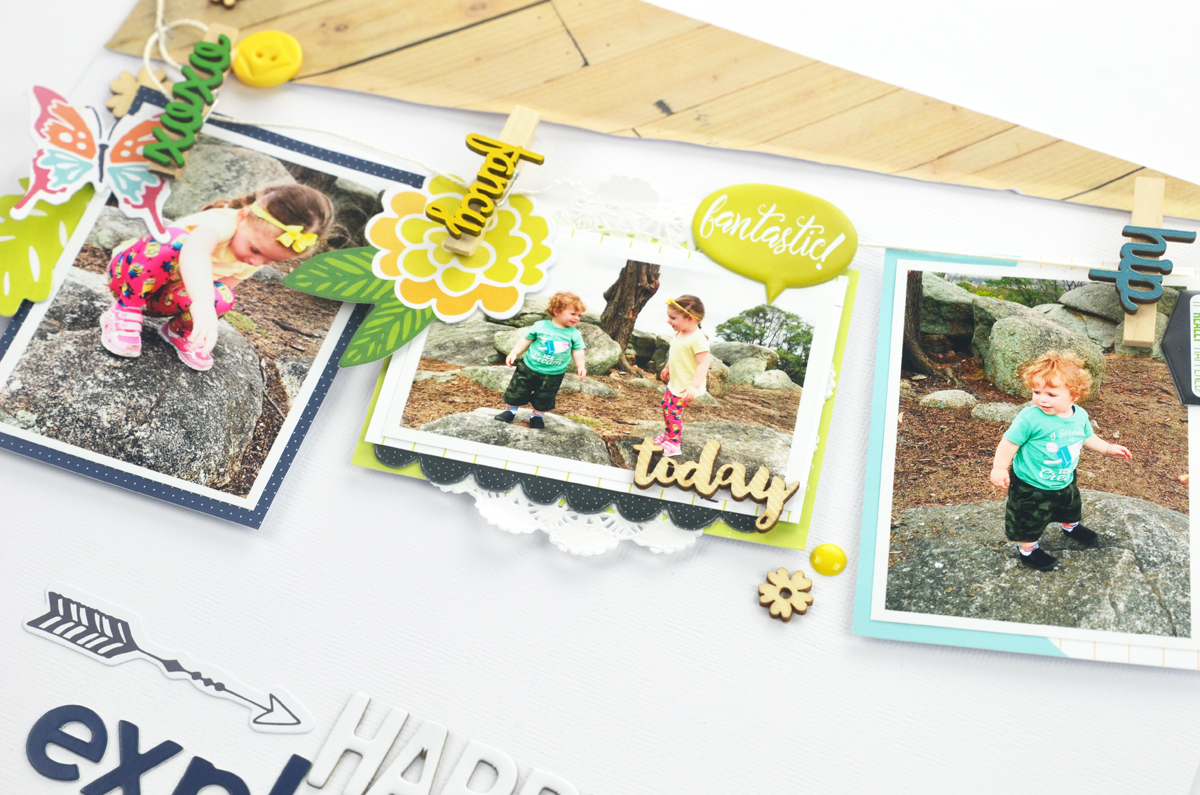 The title was made from a combination of products. The Happy was from the Bella Boulevard chipboard from the June kit and the Jillibean Soup Navy alphas from the July kits. I created a multi dimensional cluster to the bottom right of the page. I added the Heidi Swapp chipboard, Jillibean Soup veneer, the exclusive die its and puffy stickers, Pink Paislee buttons, and more.
 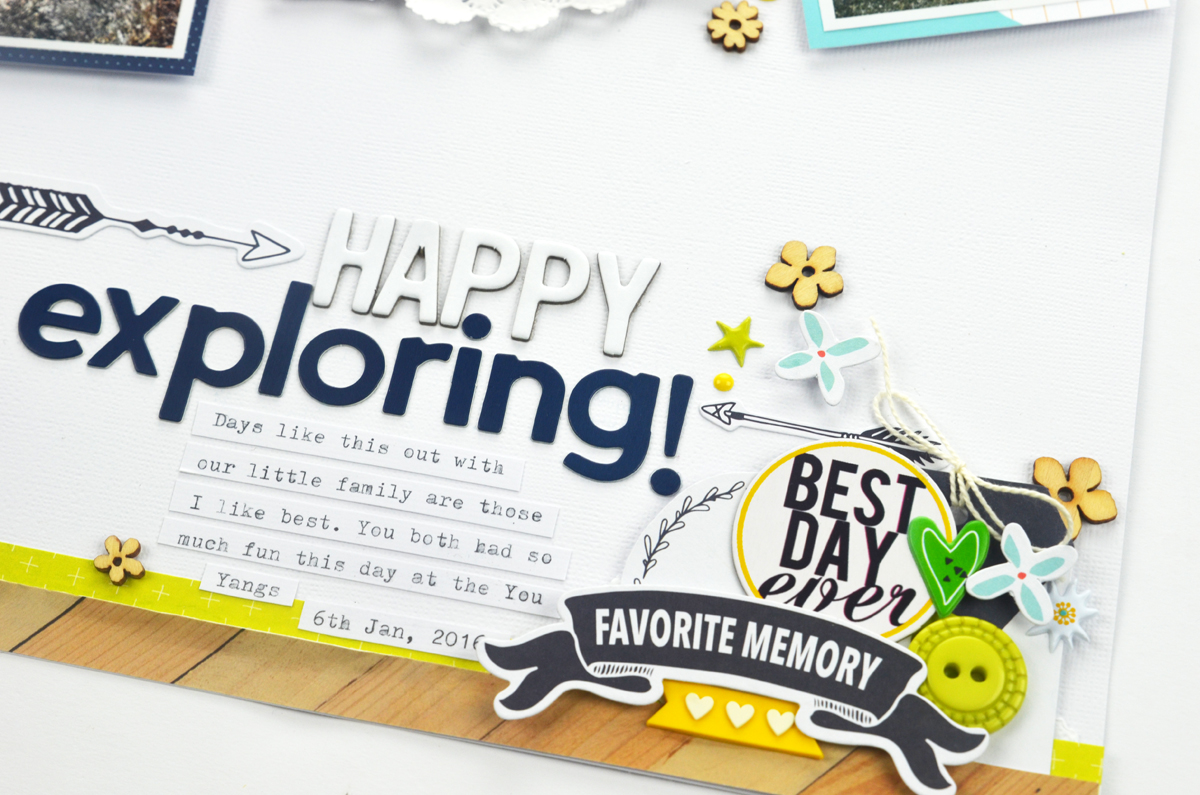 The kids had such a fun day this day so I am so pleased that this kit was perfect for documenting it.
 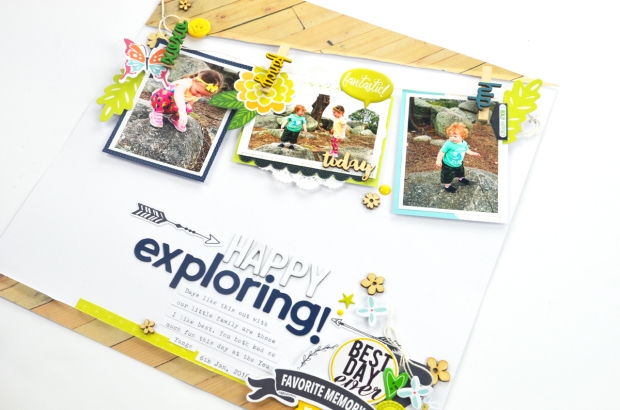 Of course while I had this beautiful kit out on my table I had to have more of a play and create a tag just for fun. This will go in my 'card' stash and be a quick and nice little addition to a gift for someone.
I created the tag itself from some white yardstick and applied a reinforcement sticker to the top after I punched the hole. This makes the tag look like a brought one instead of one I have just made. The main element of the tag is a camera with speech bubble which was cut out from one of the 3x4" cards in the Project Life kit.
Of course while I had this beautiful kit out on my table I had to have more of a play and create a tag just for fun. This will go in my 'card' stash and be a quick and nice little addition to a gift for someone.
I created the tag itself from some white yardstick and applied a reinforcement sticker to the top after I punched the hole. This makes the tag look like a brought one instead of one I have just made. The main element of the tag is a camera with speech bubble which was cut out from one of the 3x4" cards in the Project Life kit. 
I embellished the tag with the exclusive die cuts and the Simple Stories alphas, stickers and enamel dots. I love how it turned out.
 Thanks for stopping by my blog today everyone.
Have you seen the August kits? Oh my, make sure you check them out!
No comments
Post a Comment