My first christmas layout using the Nov Hip Kits!

Hey everyone, I'm here today with my newest layout. I was so very excited to receive my November kits on my doorstep this week. This month I opted for the Main kit, embellishment, paper add ons and also the December Documented kit. Now, I do not do a daily December type of album as such. I have learned that I can never to commit to projects such as those, however, I do scrapbook multiple events around Christmas time so I thought it would be a great way to have my layouts looking cohesive around this fun event.

I decided today to create a layout where I only used the Main Scrapbooking kit. I also used Irit’s cut files for November. I wanted to be able to demonstrate to you that there is more than enough product in the main kit alone to create layouts. Yes I admit it is lovely to receive all the kits, but for those of you who may only receive the Main kit as a treat to yourself each month for whatever reason, here is a sample using it.
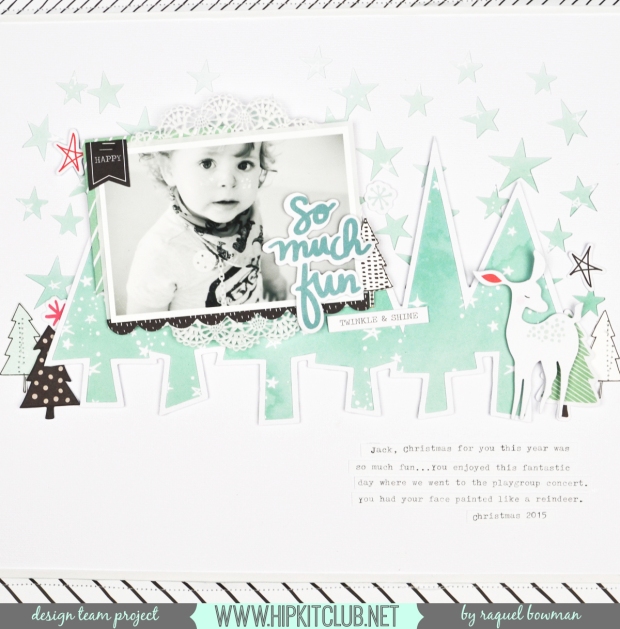
somuchfub
I documented this pic of my little man from christmas 2015. We had just attended a fun playgroup concert and fun day. This was post event, face painted and looking a little weary. I cut the star design from Irit’s files into the background and backed it with one of the exclusive papers. I also then backed the trees with the same paper but because the paper is coloured in a gradient, the tree paper looks darker which is what I had wanted to achieve.

I made a big focus on embellishments; mainly the Hip Kit exclusive ephemera. These are so amazing and so easy to create with.
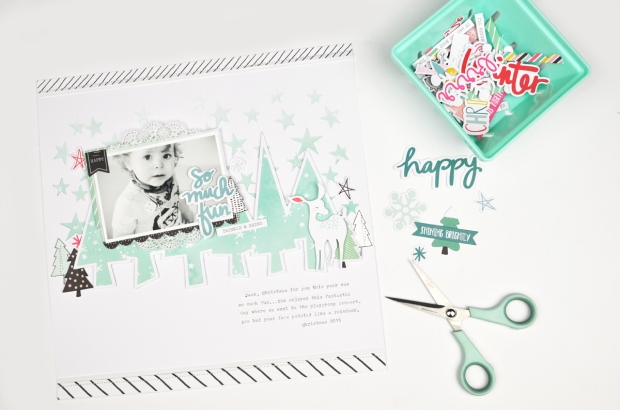
somuchfub-desk2
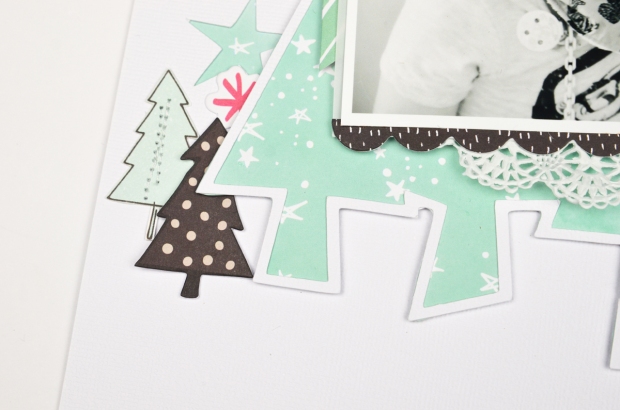
The whole photo mat and the tree cut file itself was adhered to the page with foam to add that little bit of dimension. I also added a doily behind my photo (I really can’t help myself!).
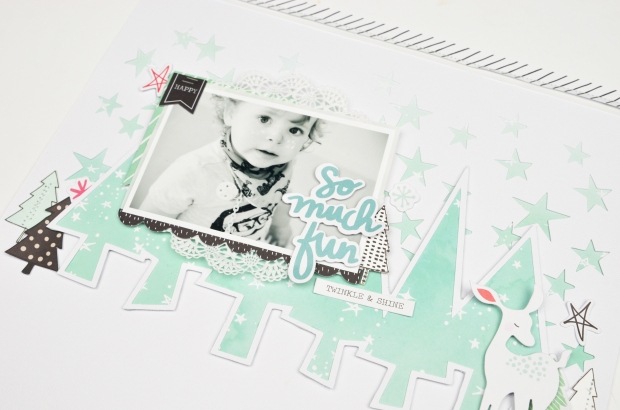
somuchfub-7
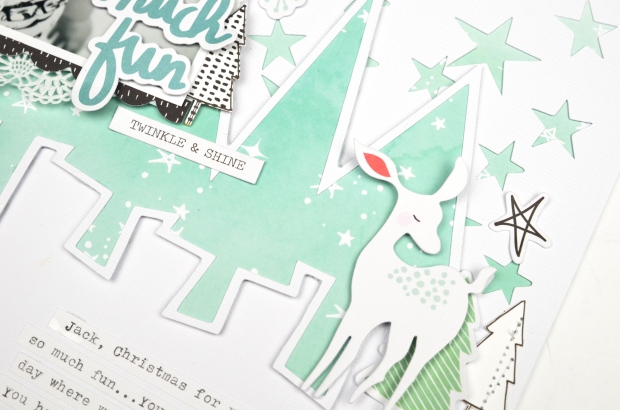
Because I had the tree cut files running horizontally, I decided to handcut some trees from the Crate Paper patterned paper and create a very loose ‘woodland’ scene. I couldn’t go past this deer. He has a pop of red in his ear so I made sure to repeat the red element two more times on the page to balance it out.
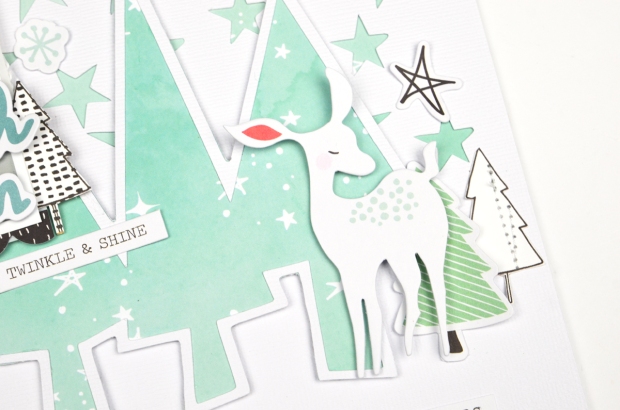
somuchfub-3
I also loved the contrast that the black ephemera pieces brought to the page. The scalloped border was one of my fave pieces.
somuchfub-2
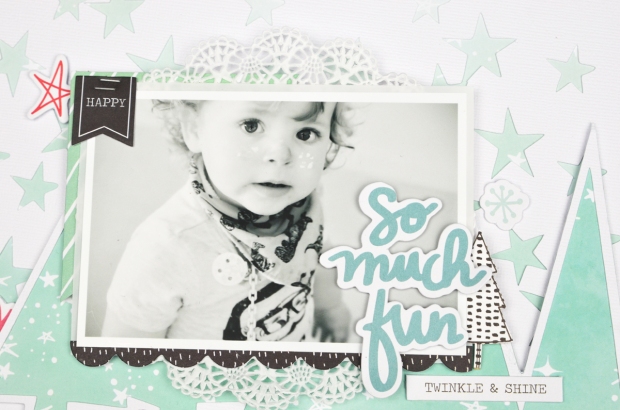
The photo itself is printed at about 75% the size of a 4×6″ and black and white (of course). To mat the photo I used the plain vellum in the card stock kit. I then cut an ephemera frame in half and placed one half to the top left corner.

The title was also an ephemera piece which I added directly to the photo in the negative space with foam tape. I love the shadow around its edges that is created because of that dimensional adhesive.
somuchfub-1
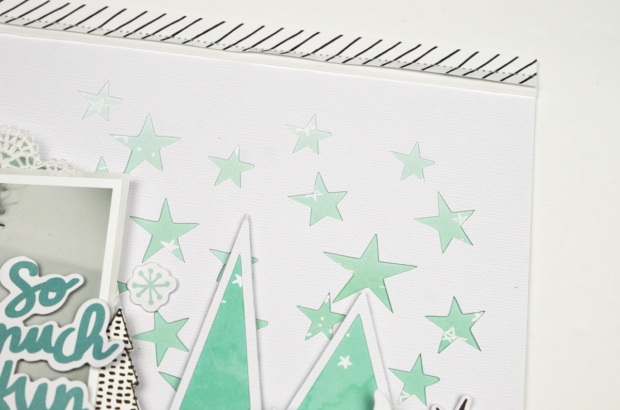
To create the star background I traced Irits design in my software, however I selected outline only so I only cut out the outlines of the stars. Meaning I could fill them in later with a patterned paper that I have done here.
somuchfub-4
I also added the ephemera text ‘twinkle and shine’ – his eyes really pop and glisten in the photo so I thought that sentiment was perfect.
somuchfub-5
The journaling was added to the page after I wrote it out on my typewriter, cut it up and adhered it to my page.
somuchfub-6Thanks so much for stopping by today. I hope this page has inspired you and shown you an example of what you can create with only the Main kit.
raquel-bowman

Watch over me - A Pink Paislee Layout

Hey everyone, I'm here today sharing with you my first layout using the amazing and gorgeous Moonstruck collection. As soon as I saw this stunning collection I just knew that I wanted to use this opportunity to scrapbook some more wedding photos. This collections palette is so dreamy and somewhat romantic so for me, it was the perfect choice. The photo I am using is just a 4×6″ black and white photo taken by our photographer.

Here is the layout I created: Watch over me

Moonstruck: Watch over Me Layout @raquelLbowman @pinkpaislee #pinkpaislee #ppmoonstruck #layout #12x12 #wedding #love
My inspiration for this page begun with my photo. After my wedding I had so many people tell me ‘I have never seen a happier bride’, ‘you didn’t stop smiling all day’ and you know what, it was very true and this picture captured that. Reflecting on our day back in 2011 I was thinking about the song that we danced to. The song is called ‘Watch Over Me’ and it is by an Australian Solo Artist, Bernard Fanning. It is truly a beautiful song and the lyrics bring a tear to my eye every time I hear it.
I could not go past Paper 02 in this collection with those big and beautiful florals, seriously divine! I fussy cut these out and added them to either side of my photo. So feminine, so pretty, and very perfect for the overall tone of this layout and what I was wanting to convey.

Moonstruck: Watch over Me Layout @raquelLbowman @pinkpaislee #pinkpaislee #ppmoonstruck #layout #12x12 #wedding #love
As a feature on this page I decided to type up the lyrics into a word document and print them on an A4 sized piece of paper in a typewritten text. To ensure the text coordinated with my page I made the colour of the text ‘coral’, the same colour which is featured in the collection. I guess you could say I created my own patterned paper that was specific to this page and photo. I think this is a pretty cool idea and one that I have used before on a couple of past layouts. It has meaning to my page but also looks effective.
Moonstruck: Watch over Me Layout @raquelLbowman @pinkpaislee #pinkpaislee #ppmoonstruck #layout #12x12 #wedding #love
I cut my title on my Cameo and it was simply the title of the song ‘watch over me’. I cut it on white cardstock and added a single line of machine stitching through it to add texture. It also meant that I could fold the top and bottom of the letters up to add some dimension and to create shadows which allow you to distinguish the white title from the white background.

In the top right corner I added a small cluster that comprised of some of the gold rub ons and a fussy cut floral and a word from Paper 09. This helps create a visual triangle on the page and for me was a necessary addition as it provides my page with balance.
Moonstruck: Watch over Me Layout @raquelLbowman @pinkpaislee #pinkpaislee #ppmoonstruck #layout #12x12 #wedding #love
The cluster to the right of the photo is mainly made up of the florals from Paper 02, however I also added a die cut heart from the ephemera pack, the ‘you are my happy’ text cut from paper 09 and some of the gold rub ons. To add some softness to the florals I tucked in some die cut white leaves and a doily behind my photo too.

Moonstruck: Watch over Me Layout @raquelLbowman @pinkpaislee #pinkpaislee #ppmoonstruck #layout #12x12 #wedding #love
One tip I have for you when using the Moonstruck collection is for the rub ons. Sometimes I find it hard to commit to the placement of rub ons in a layout design. To combat this I add the rub on to white card stock and fussy cut it out. This gives me a DIY ephemera piece that I can add to my layout, like the butterfly in the below image.

Moonstruck: Watch over Me Layout @raquelLbowman @pinkpaislee #pinkpaislee #ppmoonstruck #layout #12x12 #wedding #love
I hope this layout has inspired you today. The Moonstruck collection is just so beautiful and so easy to work with!

raquelbowman-nov4-blog1
I will be sharing a process video for this layout on my YouTube channel very soon!