
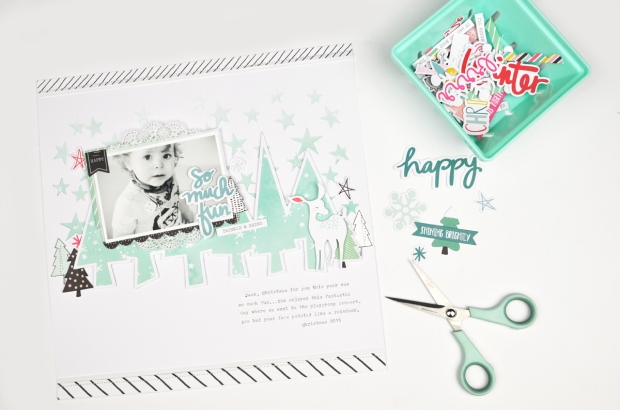
I decided today to create a layout where I only used the Main Scrapbooking kit. I also used Irit’s cut files for November. I wanted to be able to demonstrate to you that there is more than enough product in the main kit alone to create layouts. Yes I admit it is lovely to receive all the kits, but for those of you who may only receive the Main kit as a treat to yourself each month for whatever reason, here is a sample using it.
I made a big focus on embellishments; mainly the Hip Kit exclusive ephemera. These are so amazing and so easy to create with.
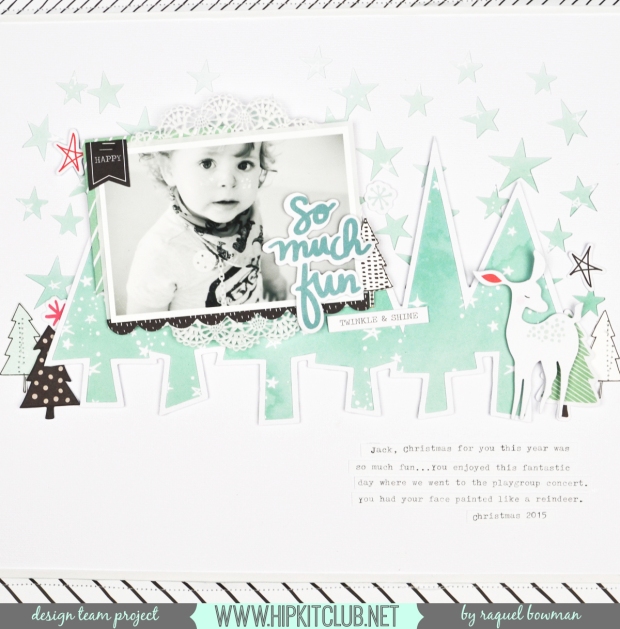
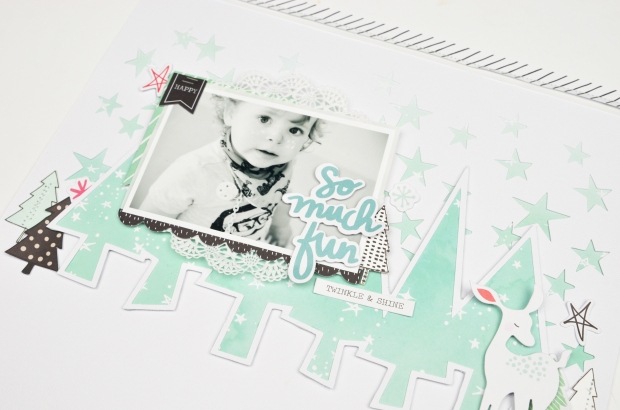
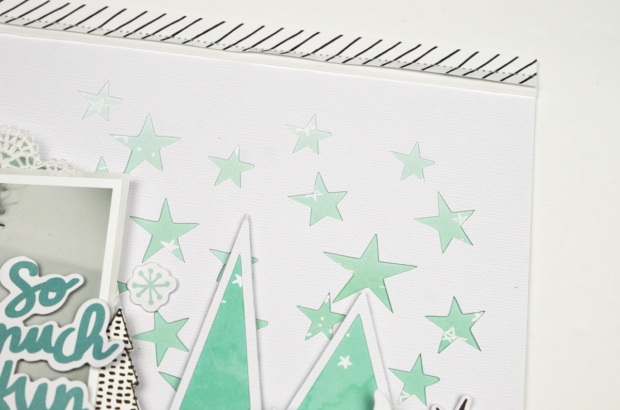
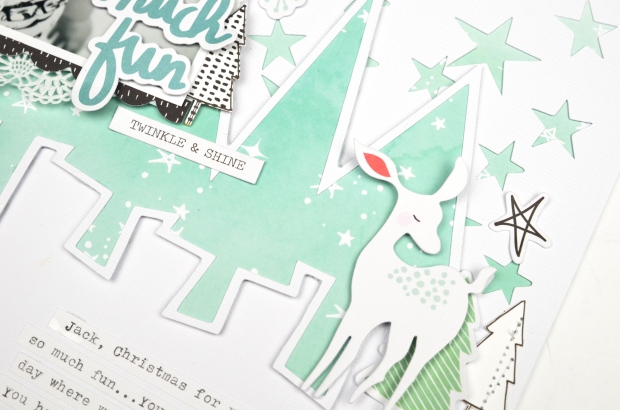
The whole photo mat and the tree cut file itself was adhered to the page with foam to add that little bit of dimension. I also added a doily behind my photo (I really can’t help myself!).
Because I had the tree cut files running horizontally, I decided to handcut some trees from the Crate Paper patterned paper and create a very loose ‘woodland’ scene. I couldn’t go past this deer. He has a pop of red in his ear so I made sure to repeat the red element two more times on the page to balance it out.
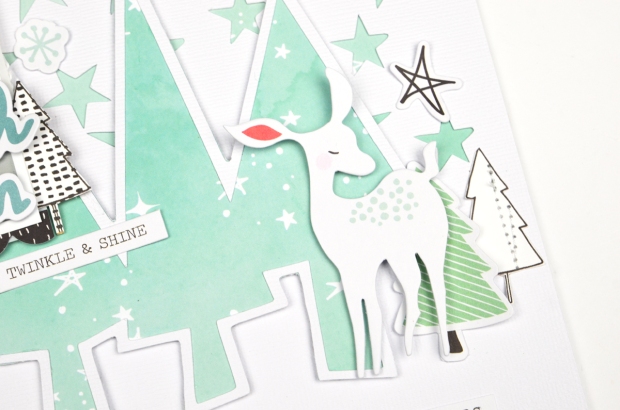
I also loved the contrast that the black ephemera pieces brought to the page. The scalloped border was one of my fave pieces.

The photo itself is printed at about 75% the size of a 4×6″ and black and white (of course). To mat the photo I used the plain vellum in the card stock kit. I then cut an ephemera frame in half and placed one half to the top left corner.The title was also an ephemera piece which I added directly to the photo in the negative space with foam tape. I love the shadow around its edges that is created because of that dimensional adhesive.

To create the star background I traced Irits design in my software, however I selected outline only so I only cut out the outlines of the stars. Meaning I could fill them in later with a patterned paper that I have done here.
I also added the ephemera text ‘twinkle and shine’ – his eyes really pop and glisten in the photo so I thought that sentiment was perfect.
The journaling was added to the page after I wrote it out on my typewriter, cut it up and adhered it to my page.
 Thanks so much for stopping by today. I hope this page has inspired you and shown you an example of what you can create with only the Main kit.
Thanks so much for stopping by today. I hope this page has inspired you and shown you an example of what you can create with only the Main kit.

2 comments
Another absolutely gorgeous layout...perfect!!!!
Very pretty!
Post a Comment