Hey everyone, today I am here sharing a new layout I created using the September Hip Kits. It is 'Gratitude/Family' week and I was also given the challenge of -no white!!! No white! What is that!?! ha. I do not remember the last time I had a layout without white card stock on it. But I accepted the challenge and here is what I came up with:
Hello Sweet
For this layout I have used the amazing September kits featuring the Crate Paper, Inc. Gather collection and a photo of my daughter and son not long after he was born. One of the Crate Paper tiny word stickers summed up this moment 'my heart is full', just the perfect sentiment to describe this photo. The sticker was hard to get a photo of due to the foiling.
I have a vertical strip on the left of the page grounding the photo and have embellished diagonally across the page. I added a fringe to the layers and some gold paper from my stash.
The embellishing contains mainly layers of the Gather ephemera, a tassel, chipboard and dimensional stickers, with a touch of Pinkfresh Studio chipboard hearts, Simple Stories enamel dots.
The title was a mix of the ephemera and chipboard stickers by Crate.
It was a strange thing for me to have a patterned paper as the base of my layout instead of my white card stock base I am so used to. I hope you think I have met the challenge!
Hey everyone, I'm here today sharing a new layout using the beautiful Love Always collection by Cocoa Vanilla Studio.
This layout is for the Creative Scrappers sketch challenge #299 which you can see below. Cocoa Vanilla are the sponsors for this months challenge and each of us on the team have created a layout based on this fun sketch using the CVS products.
The style and layout of the sketch itself is quite different to a design I may gravitate towards so I had to be a little creative when creating my layout for this.
Here is the layout I created.
I kept the design of the four photos, but instead of the larger size portrait style photos I chose to use four smaller ones. I matted each photo on some of the patterned papers in the collection. One of the photos in the four though I wanted to stand out a little more than the others, so I matted that on a different patterned paper, added a doily behind it and mounted it to the page with foam tape. I adhered them in a scattered horizontal formation to add a little interest to them.
The chipboard tabs, stickers and puffy stickers add a nice little detail to the layers. I used multiple layers of patterned paper like the sketch on this layout. To add a little detail to each layer I added some machine stitching to the edges.
Like the sketch I have an embellishment cluster to the left of the photos, the right of the photos and the bottom right of the page. Instead of using stars I have mainly used floral embellishments from the collection. I used sequins as the circle element to the sketch which add a nice finishing touch to each cluster.
I decided that I wanted to swap the placement of the title and the journalling. I did this because I felt the space under the smaller photos needed to be filled with my story rather than the sticker I had selected to use as a title.
For something different I used the stickers to act as the title on my page. This formed the bottom right cluster in the sketch and combines a lot of different layers of embellishments. I used die cuts, stickers and veneer. I added the sequins and also one of the floral resins from the Bits & Pieces pack.
I wanted to still add a star element to my page seeing as though the sketch featured it. So I decided to use a large Star cut file shape to back with a patterned paper and to make it a main part in the design of the page. I just loved how it turned out!
Thanks for stopping by today, you can check out the sketch here
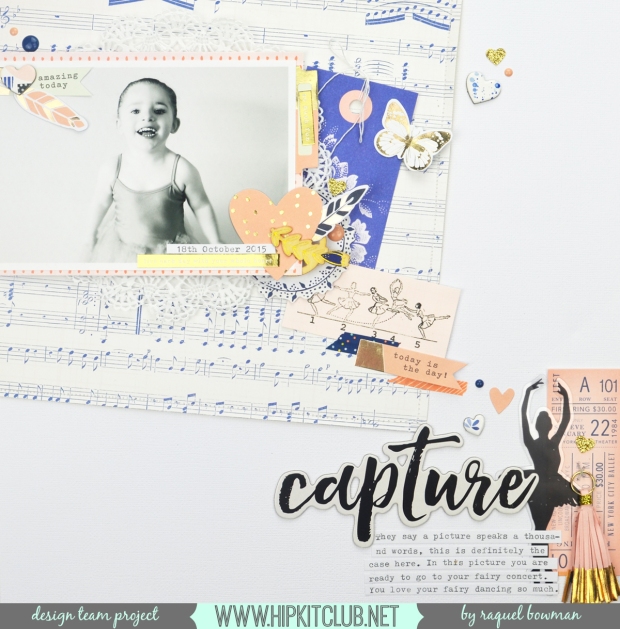
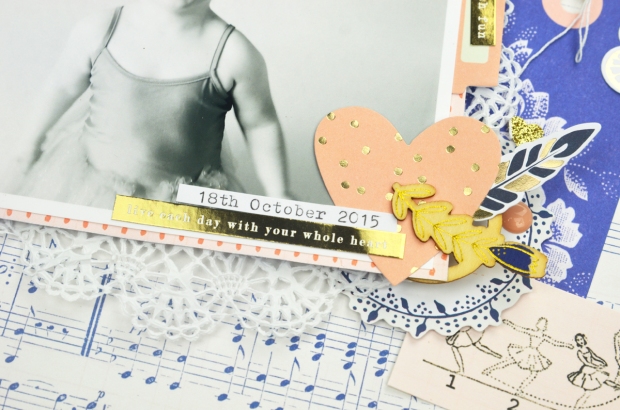
Hey everyone, I'm here with you today sharing my first layout I have created using the September kits. For this layout today I focused on telling the story behind the photo, something which I do regularly on my layouts. I also based this page ‘loosely’ on the September sketch which has a diagonal design and includes the title and photo in the same placement.
Here is the layout I created:
Here is the process video for this layout
These September kits are seriously gorgeous! I am absolutely loving the colour palette and had so much fun diving in to create this layout.
I shared an unboxing video over on YouTube, here it is here incase you missed it
The photo I am documenting really just speaks volumes. I just adore the look of happiness on my little girls face and this is the story I wanted to tell.
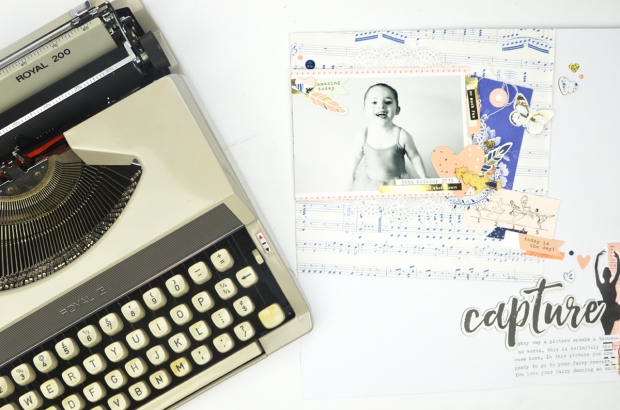
To tell my story today, and on most of my layouts, I used my typewriter. As I have mentioned in previous posts, I love how quick, easy and visually pleasing typewritten journaling looks on layouts. Typewriters are something that can be picked up at retro or vintage stores, charity shops and some of you may have even seen that We R Memory Keepers have released a 12″ compatible typewriter called the Typecast. That beauty is definitely on my wish list, but for now my Royal will do!
After I have typed my story on my typewriter, I always tend to cut it into strips. I really love the look of strip journaling and it also means that I can weave and adhere the story around the embellishments that are already placed on the page.
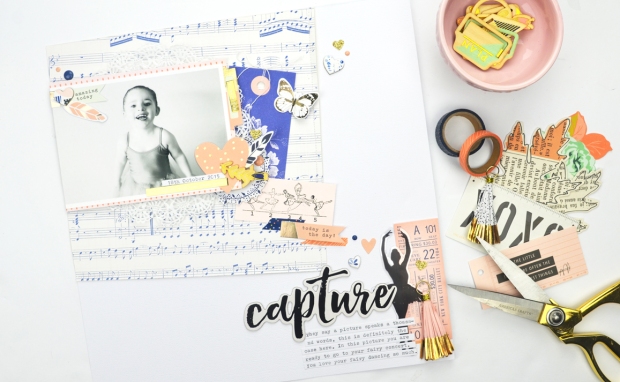
Here are some close ups of the layout:
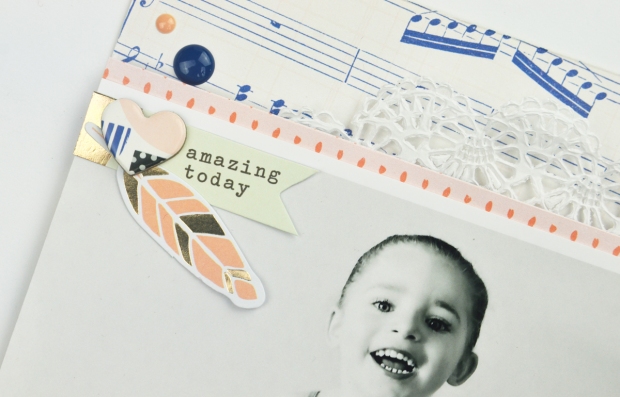
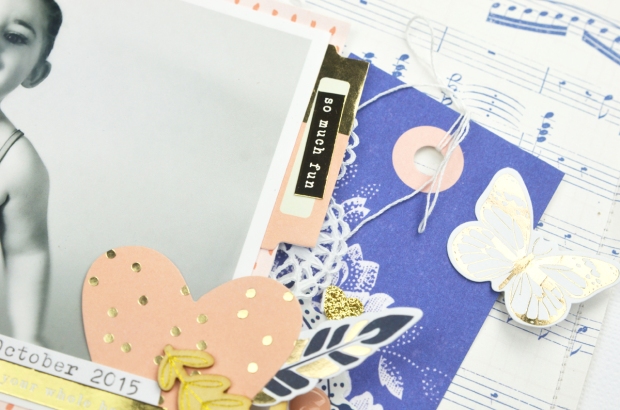
I added a small cluster on the top left of the photo. This just helped to balance out the layout as it was quite ‘right side heavy’.
It was so fun layering and adding the cluster to the right of my photo. The Gather ephemera from the Main kit had a lot of ballerina related icons and cards which I was able to include here. Plus they suited the royal blue/coral/pink colour palette I had chosen.
The sketch image had a tab to the top right of the photo. This one I included on my page was from the Simple Stories ephemera pack that can be found in the Project Life kit. These are actually a double tab which you can fold over, so I cut it in half so I could use the other piece on a future layout. I also added a crochet thread bow to the top of the tag in the Gather ephemera pack.
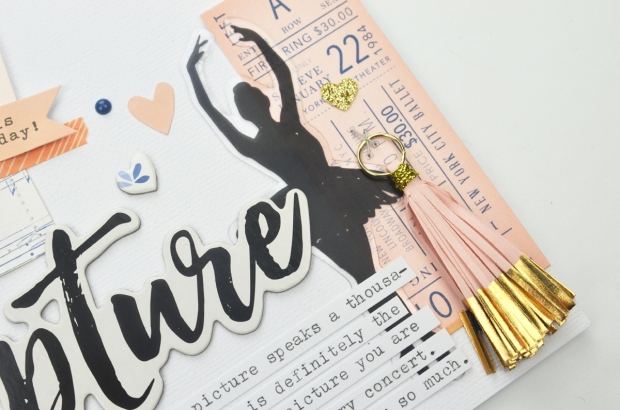
How perfect was that little ballerina piece? I did a happy dance when I found that in the pack.
There was also the large acetate ballerina in the Gather ephemera pack. I love how this looks on the layout. Don’t forget to peel off the clear film on the acetate pieces in this pack. I teamed this with the ‘capture’ title from the Gather thickers in the Main kit and the amazing Cute Girl tassel from the Embellishment kit. To secure the tassel to the page I simply stapled it on. Super quick and easy!
The whole photo mat was adhered to the page with a foam sheet. This adds an even amount of dimension to the mat area. I love the subtle touch of dimension it brings to the layout.
Thanks for stopping by the Hip Kit blog today. I hope this post has inspired you to tell your story on your layouts and has shown you how quick and easy it can be.


 Here is the layout I created.